LIIP Alumni
How to Set Up the Mail App on an iPad
Click or tap on the images to open them in a new tab.
Open Settings, then scroll to the bottom of the screen to find "Apps".
In the Apps list, tap the letter M for Mail.
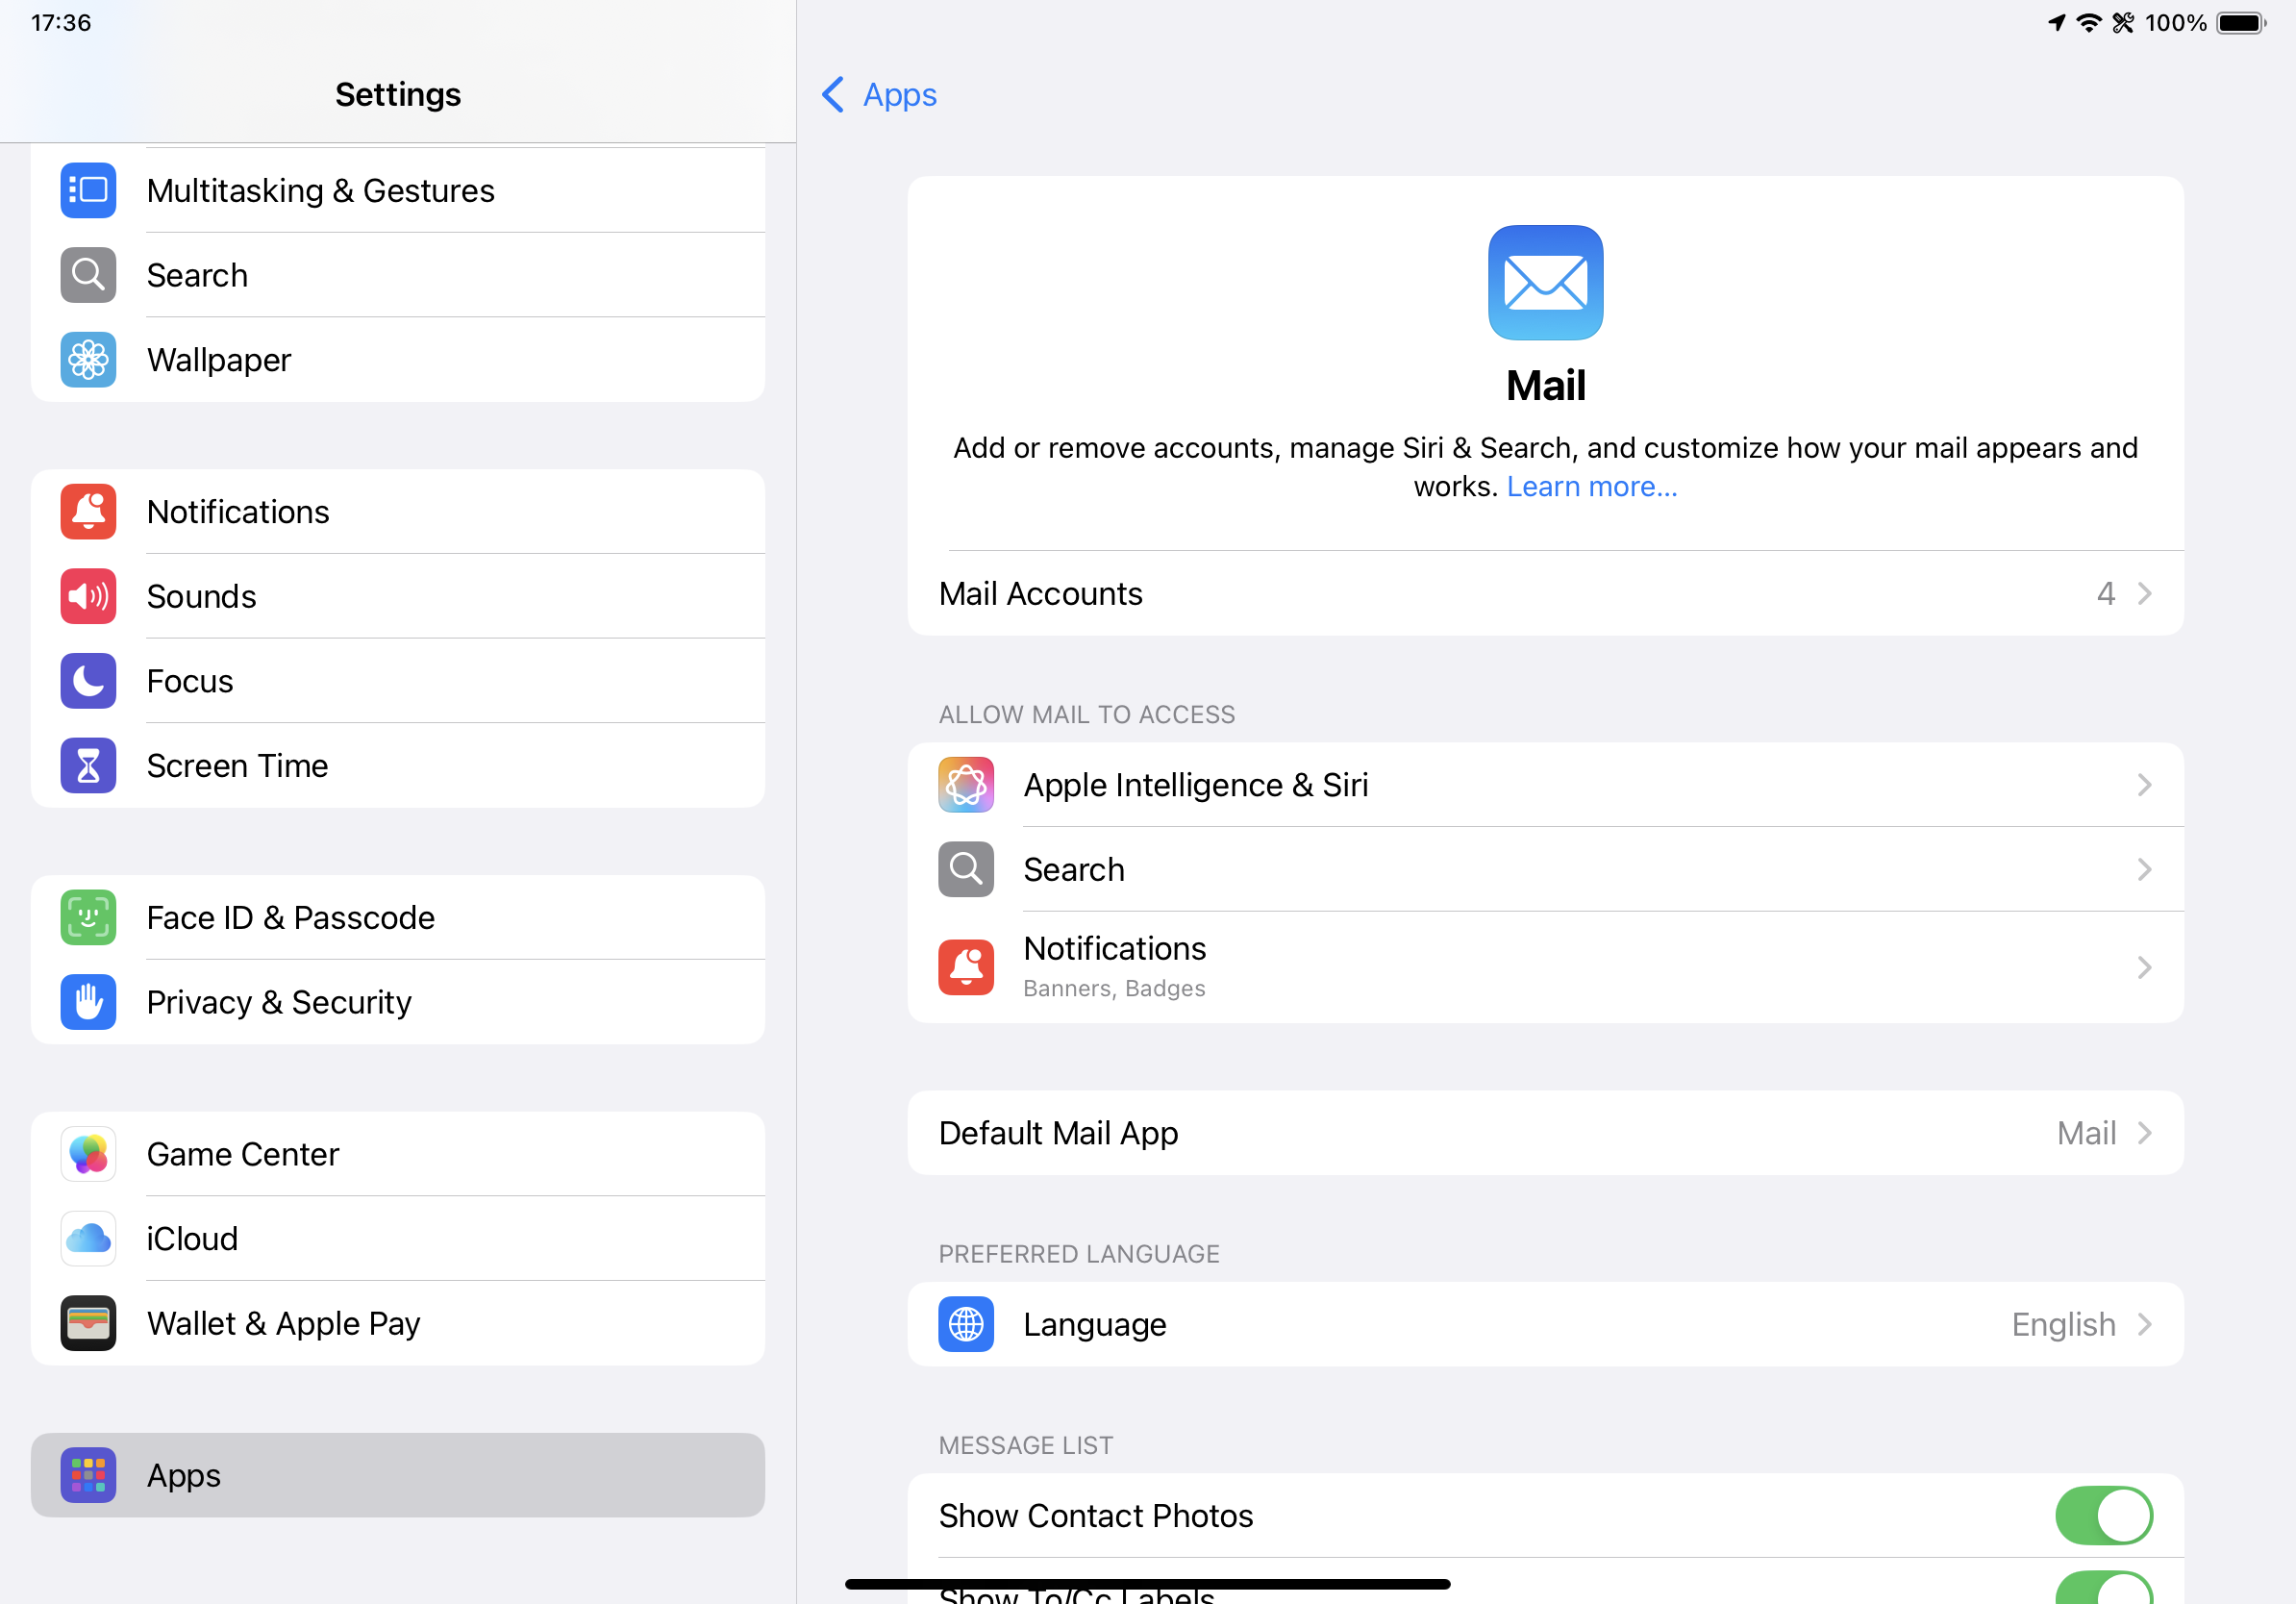
In Settings > Apps > Mail choose "Mail Accounts".
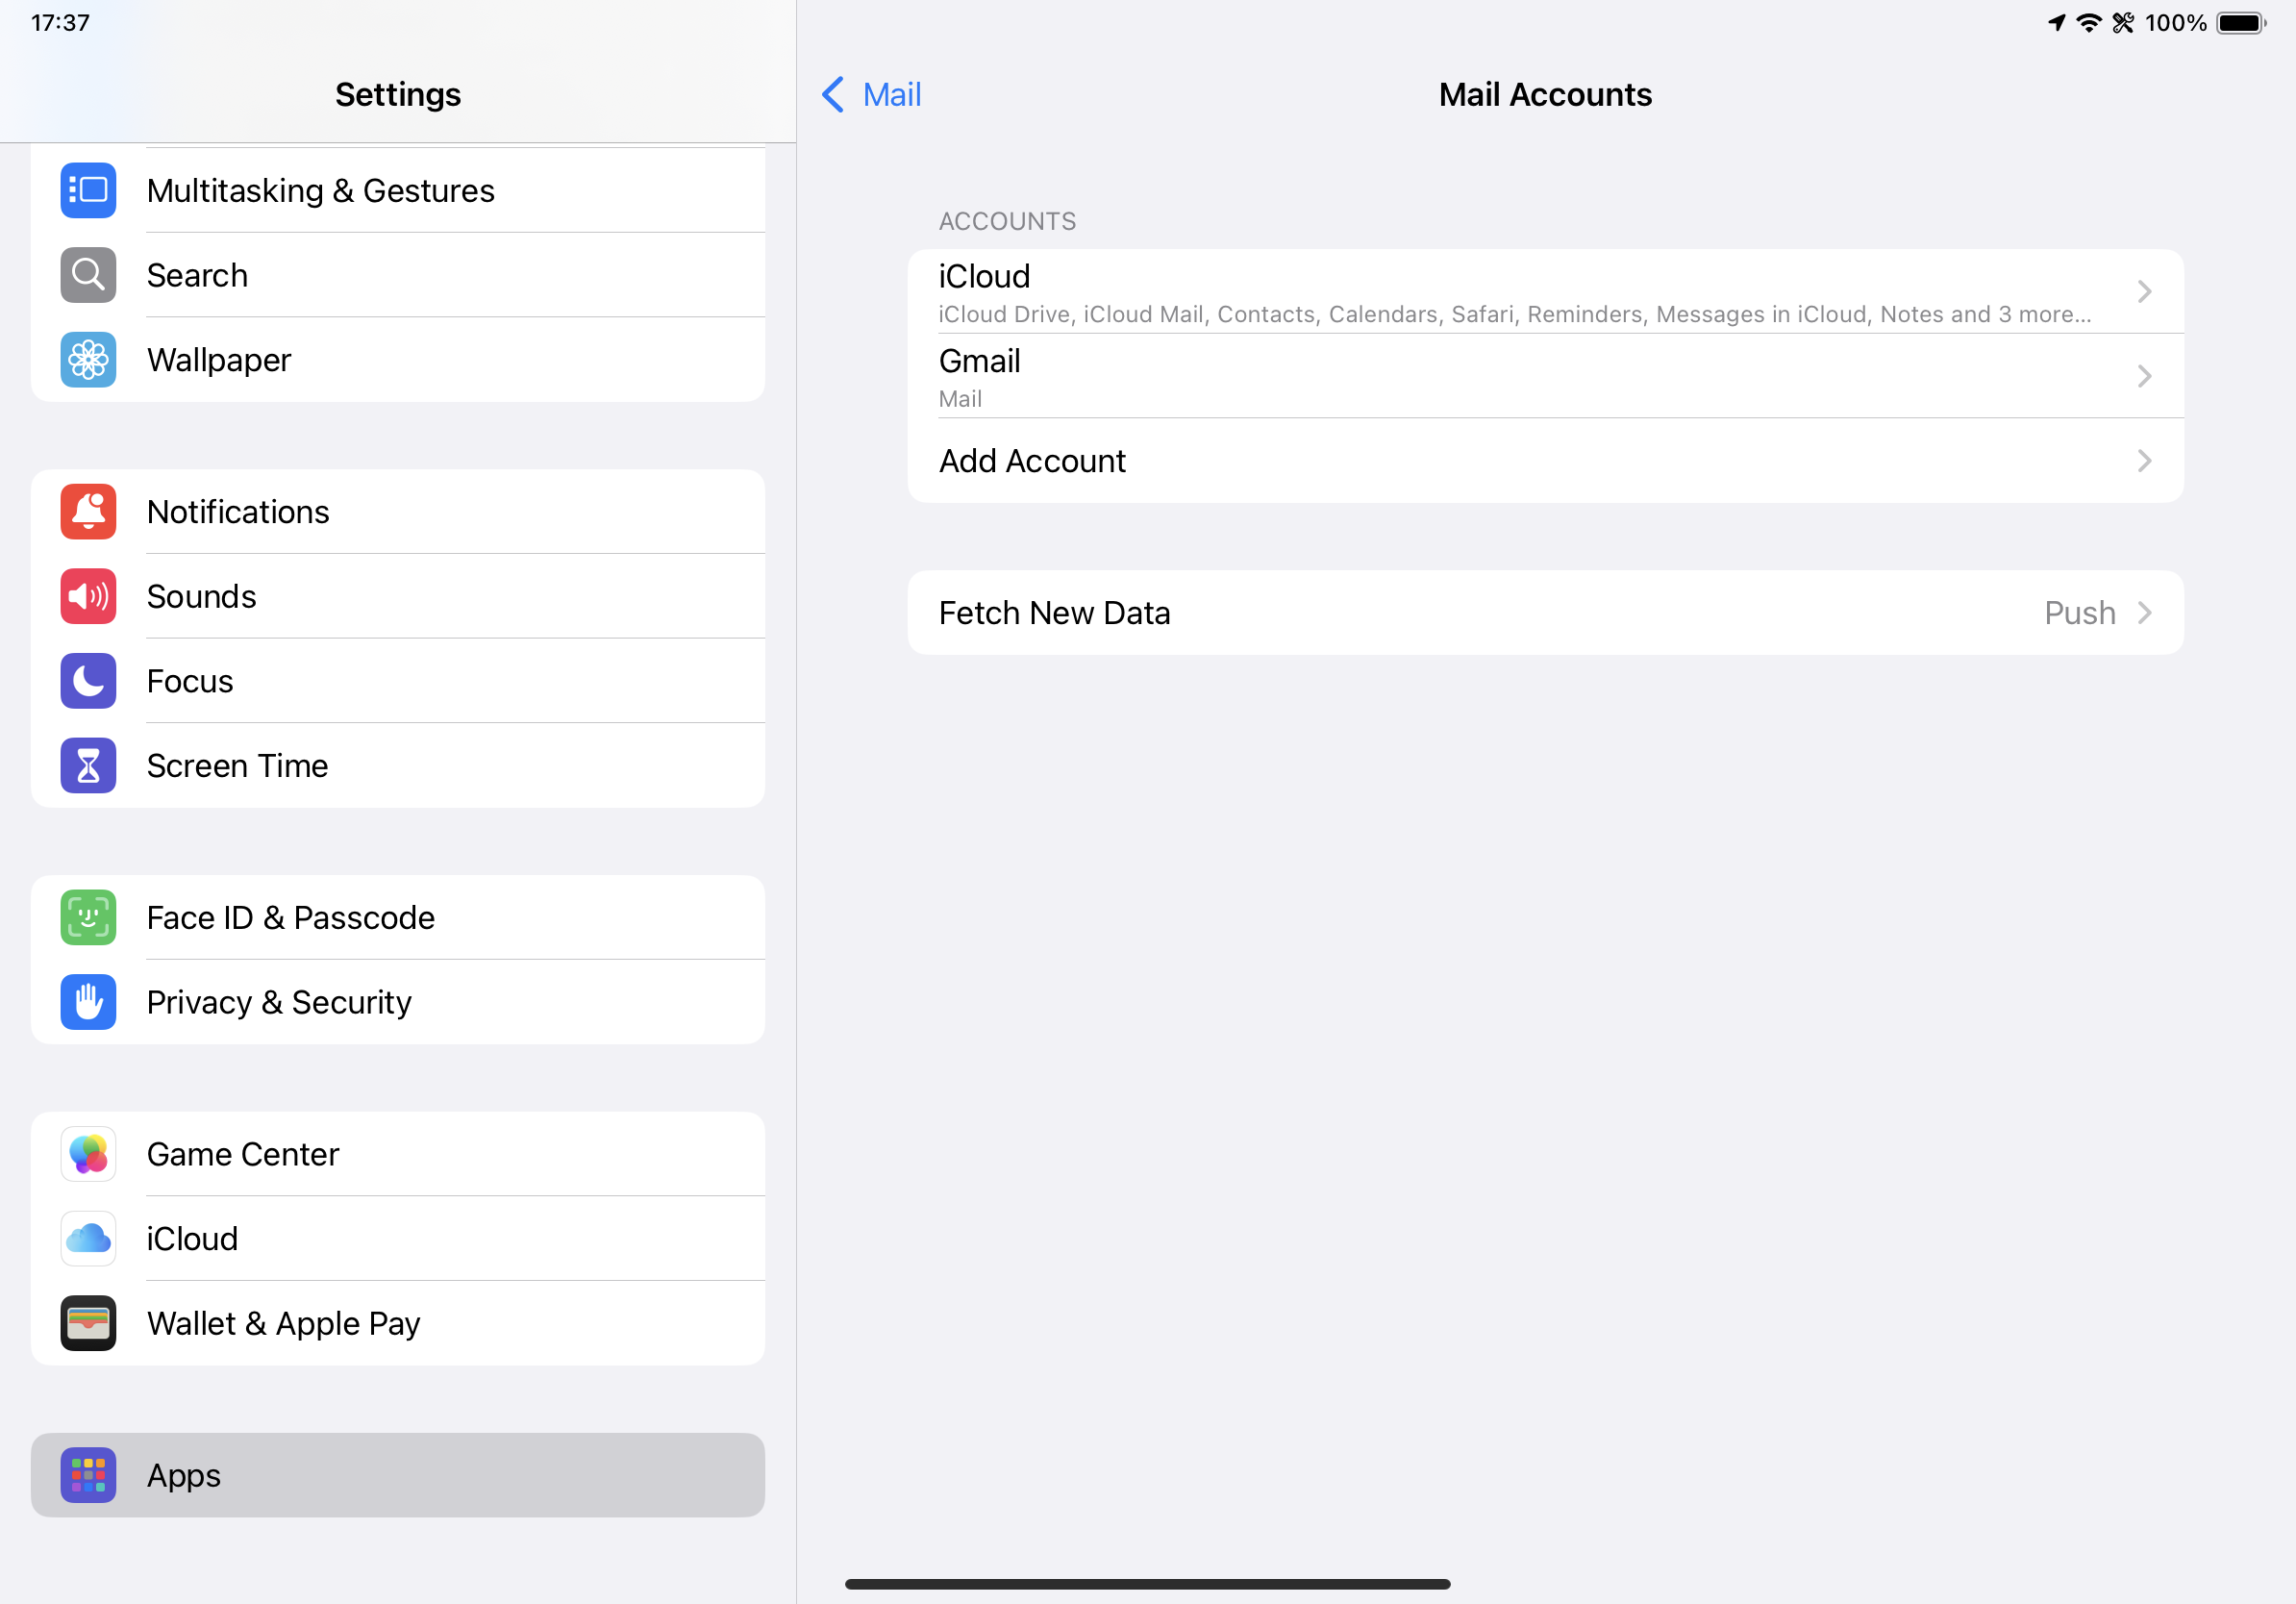
On the Mail Accounts page, choose "Add Account".
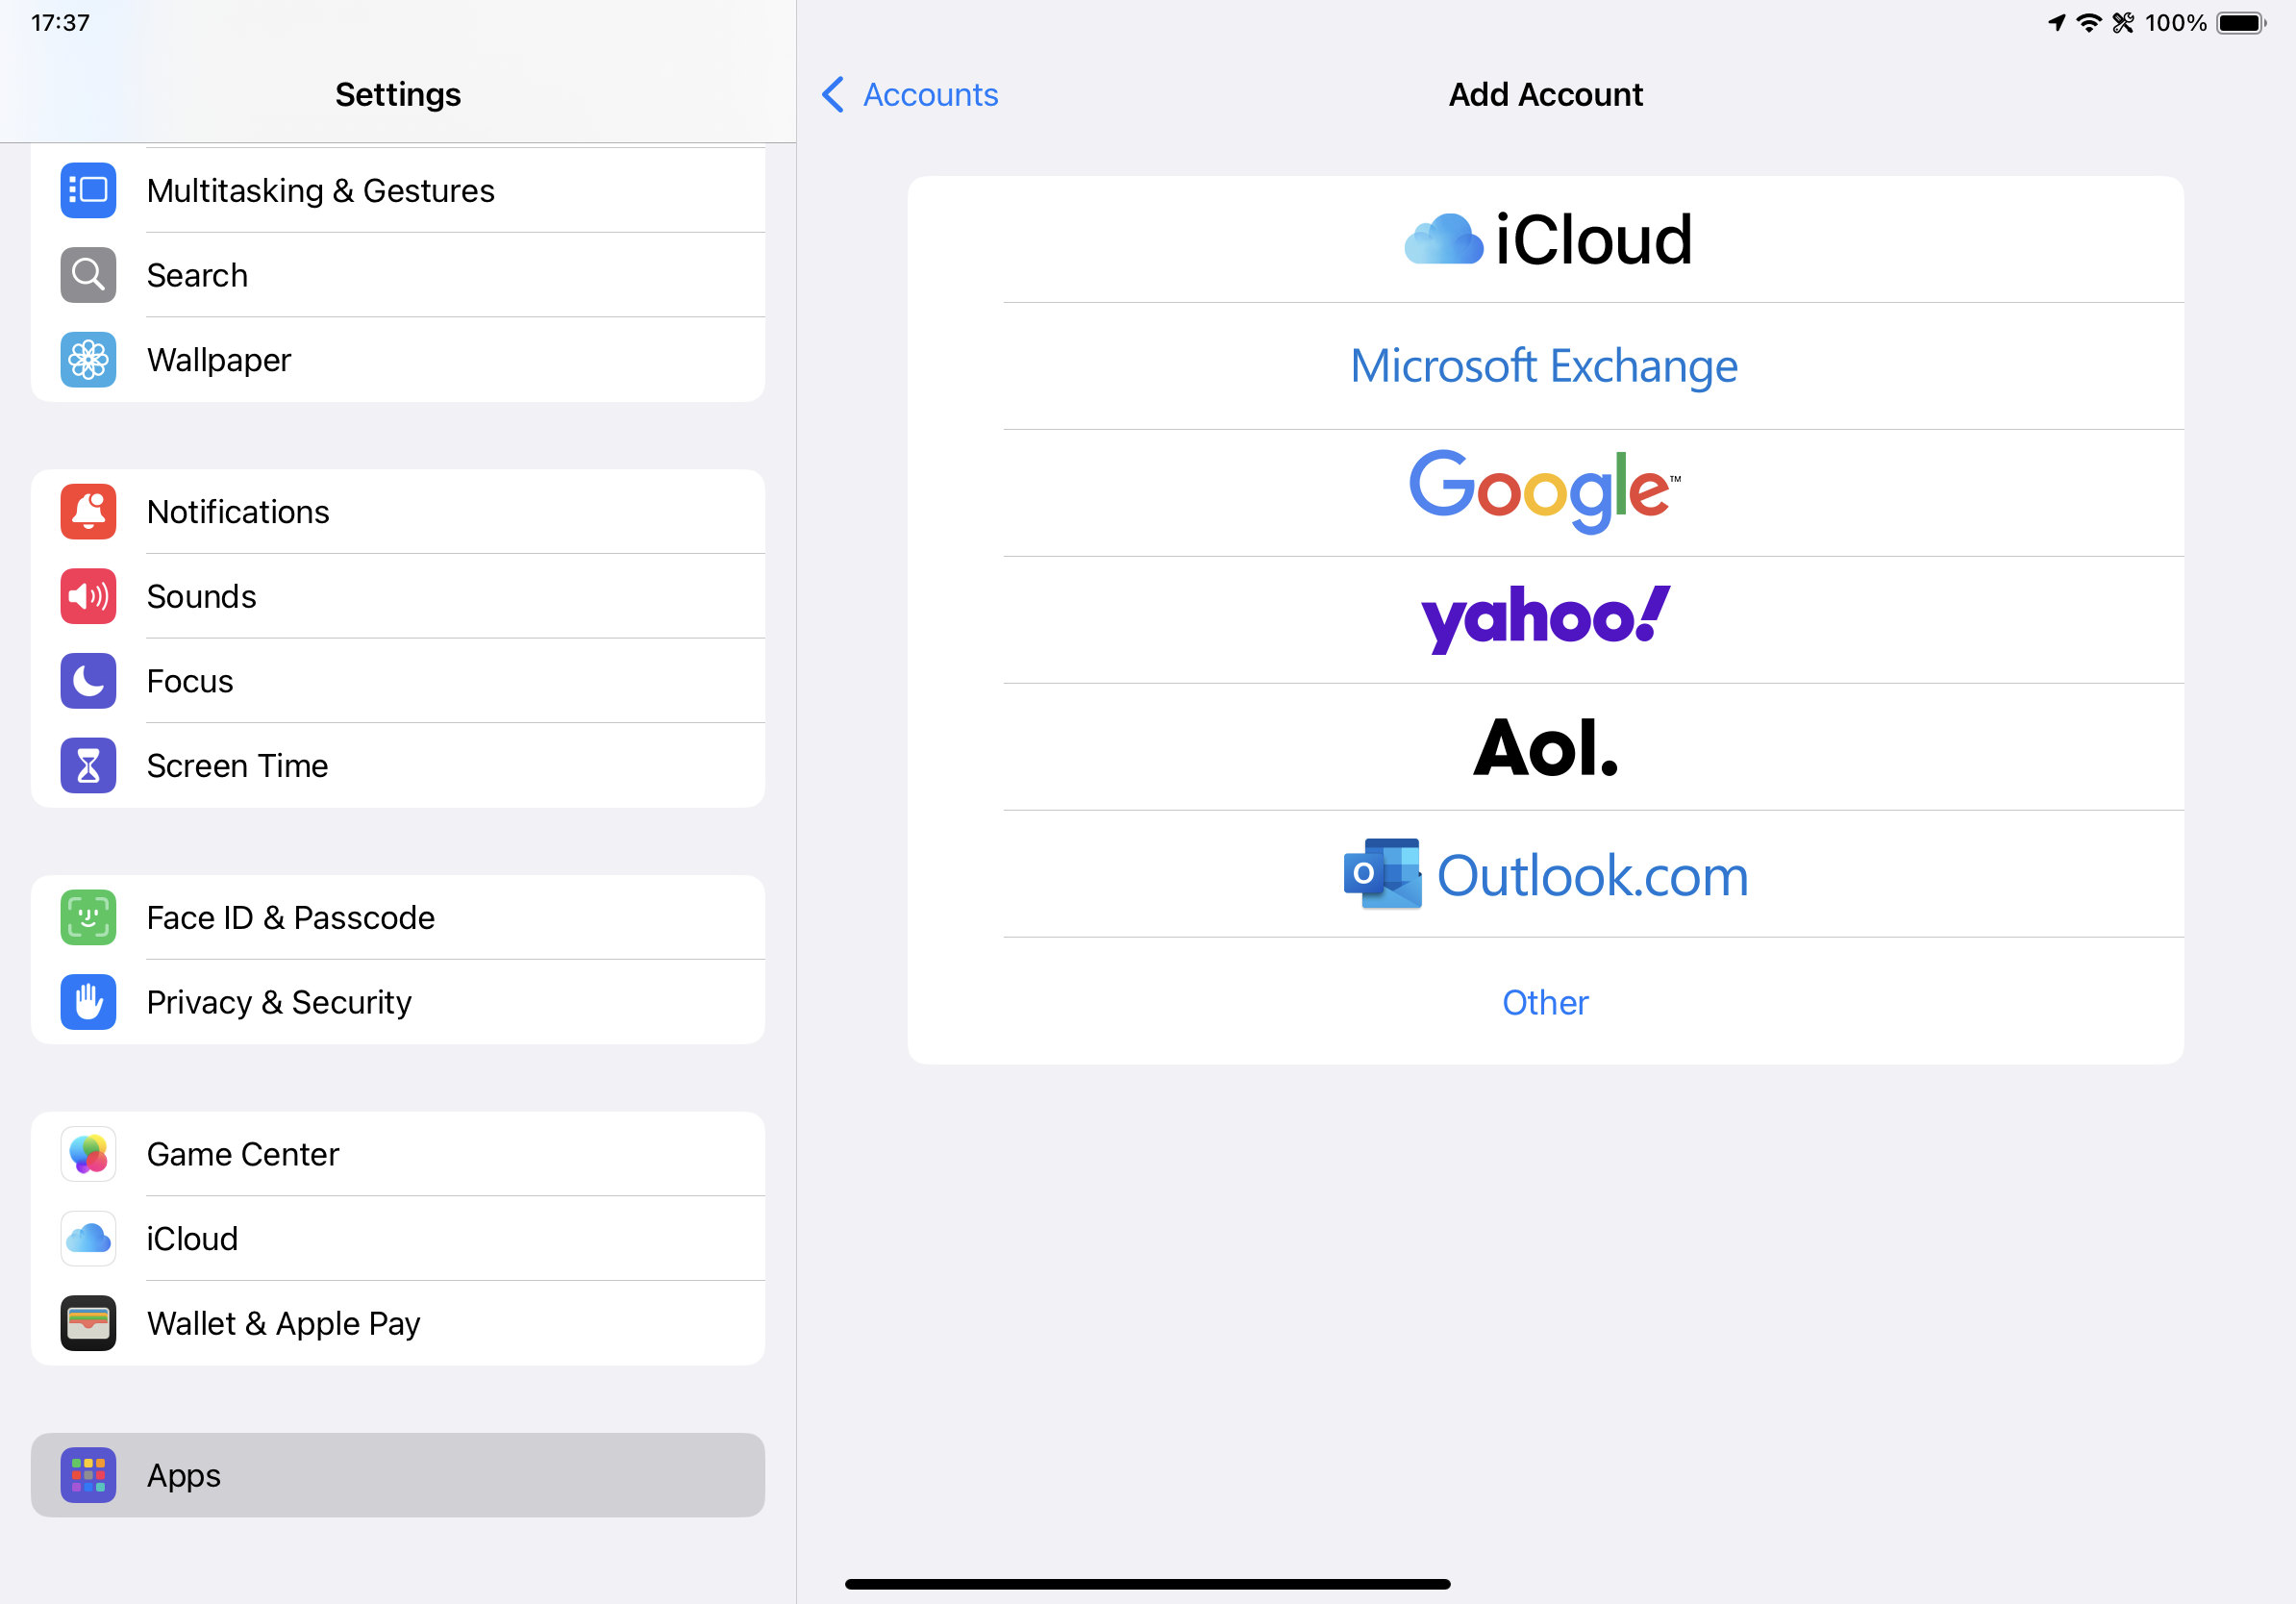
On Add Accounts page, choose "Other" (the bottom option).
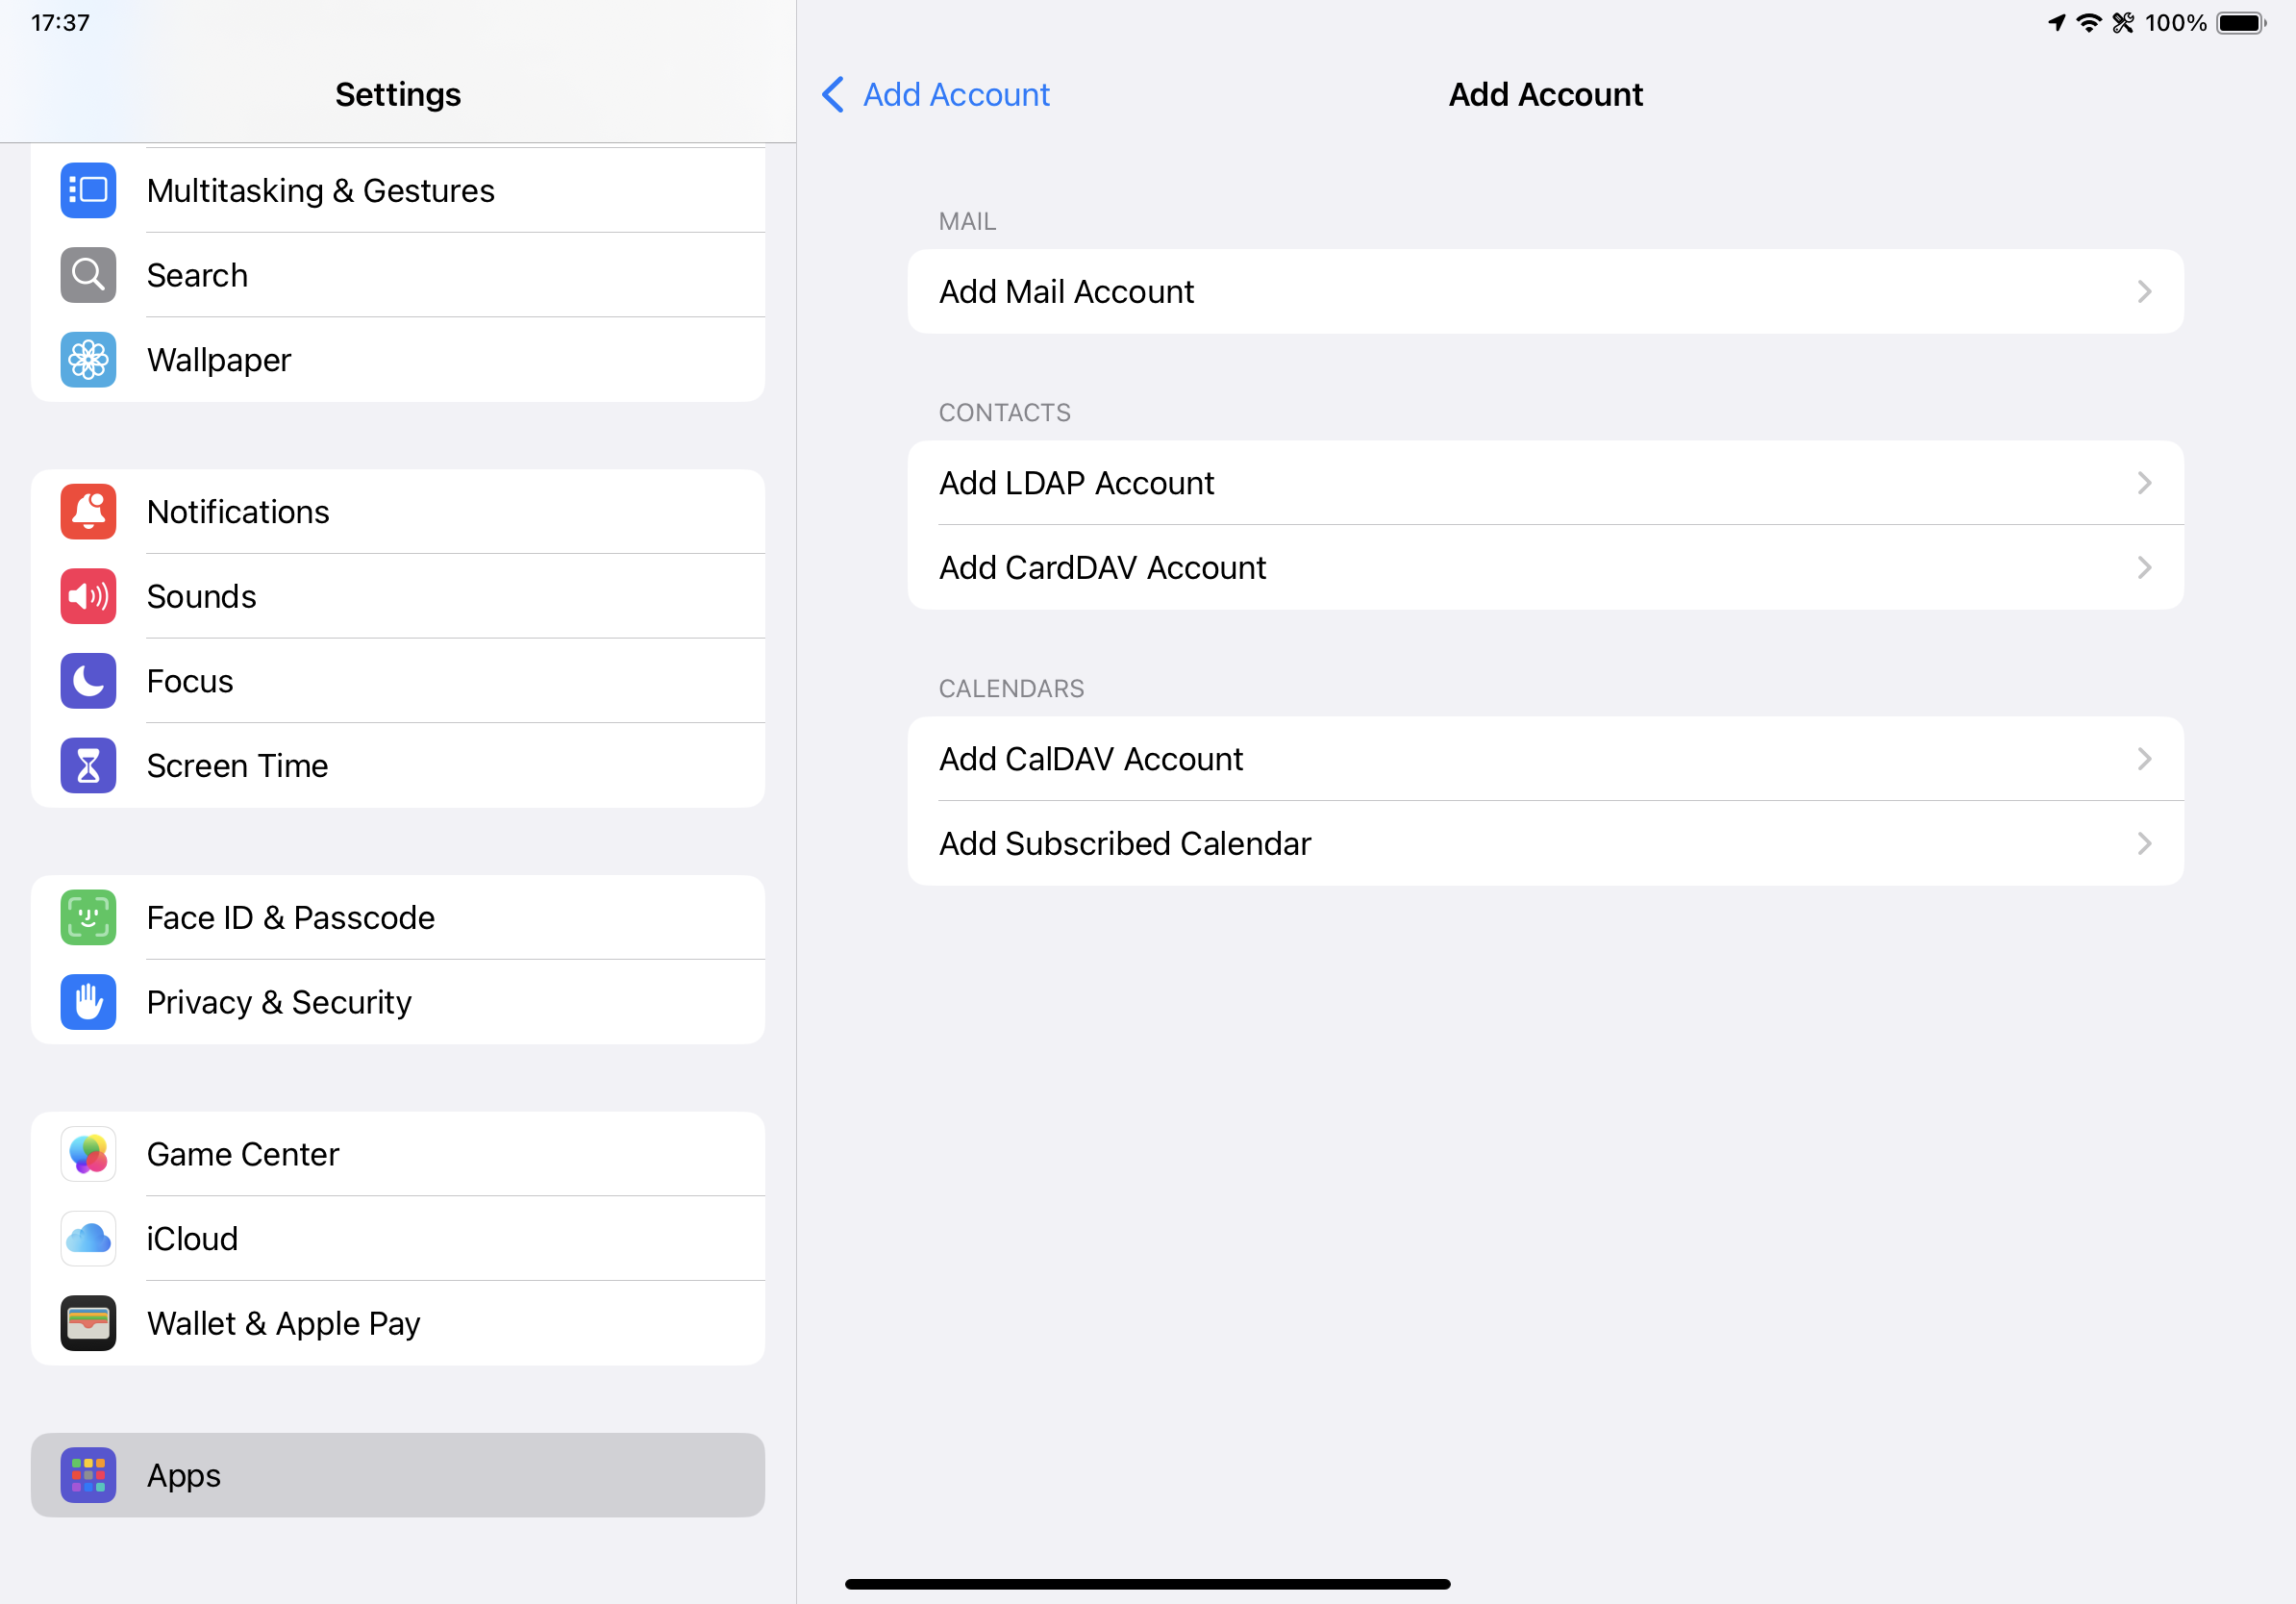
On the next page, choose the top option "Add Account".
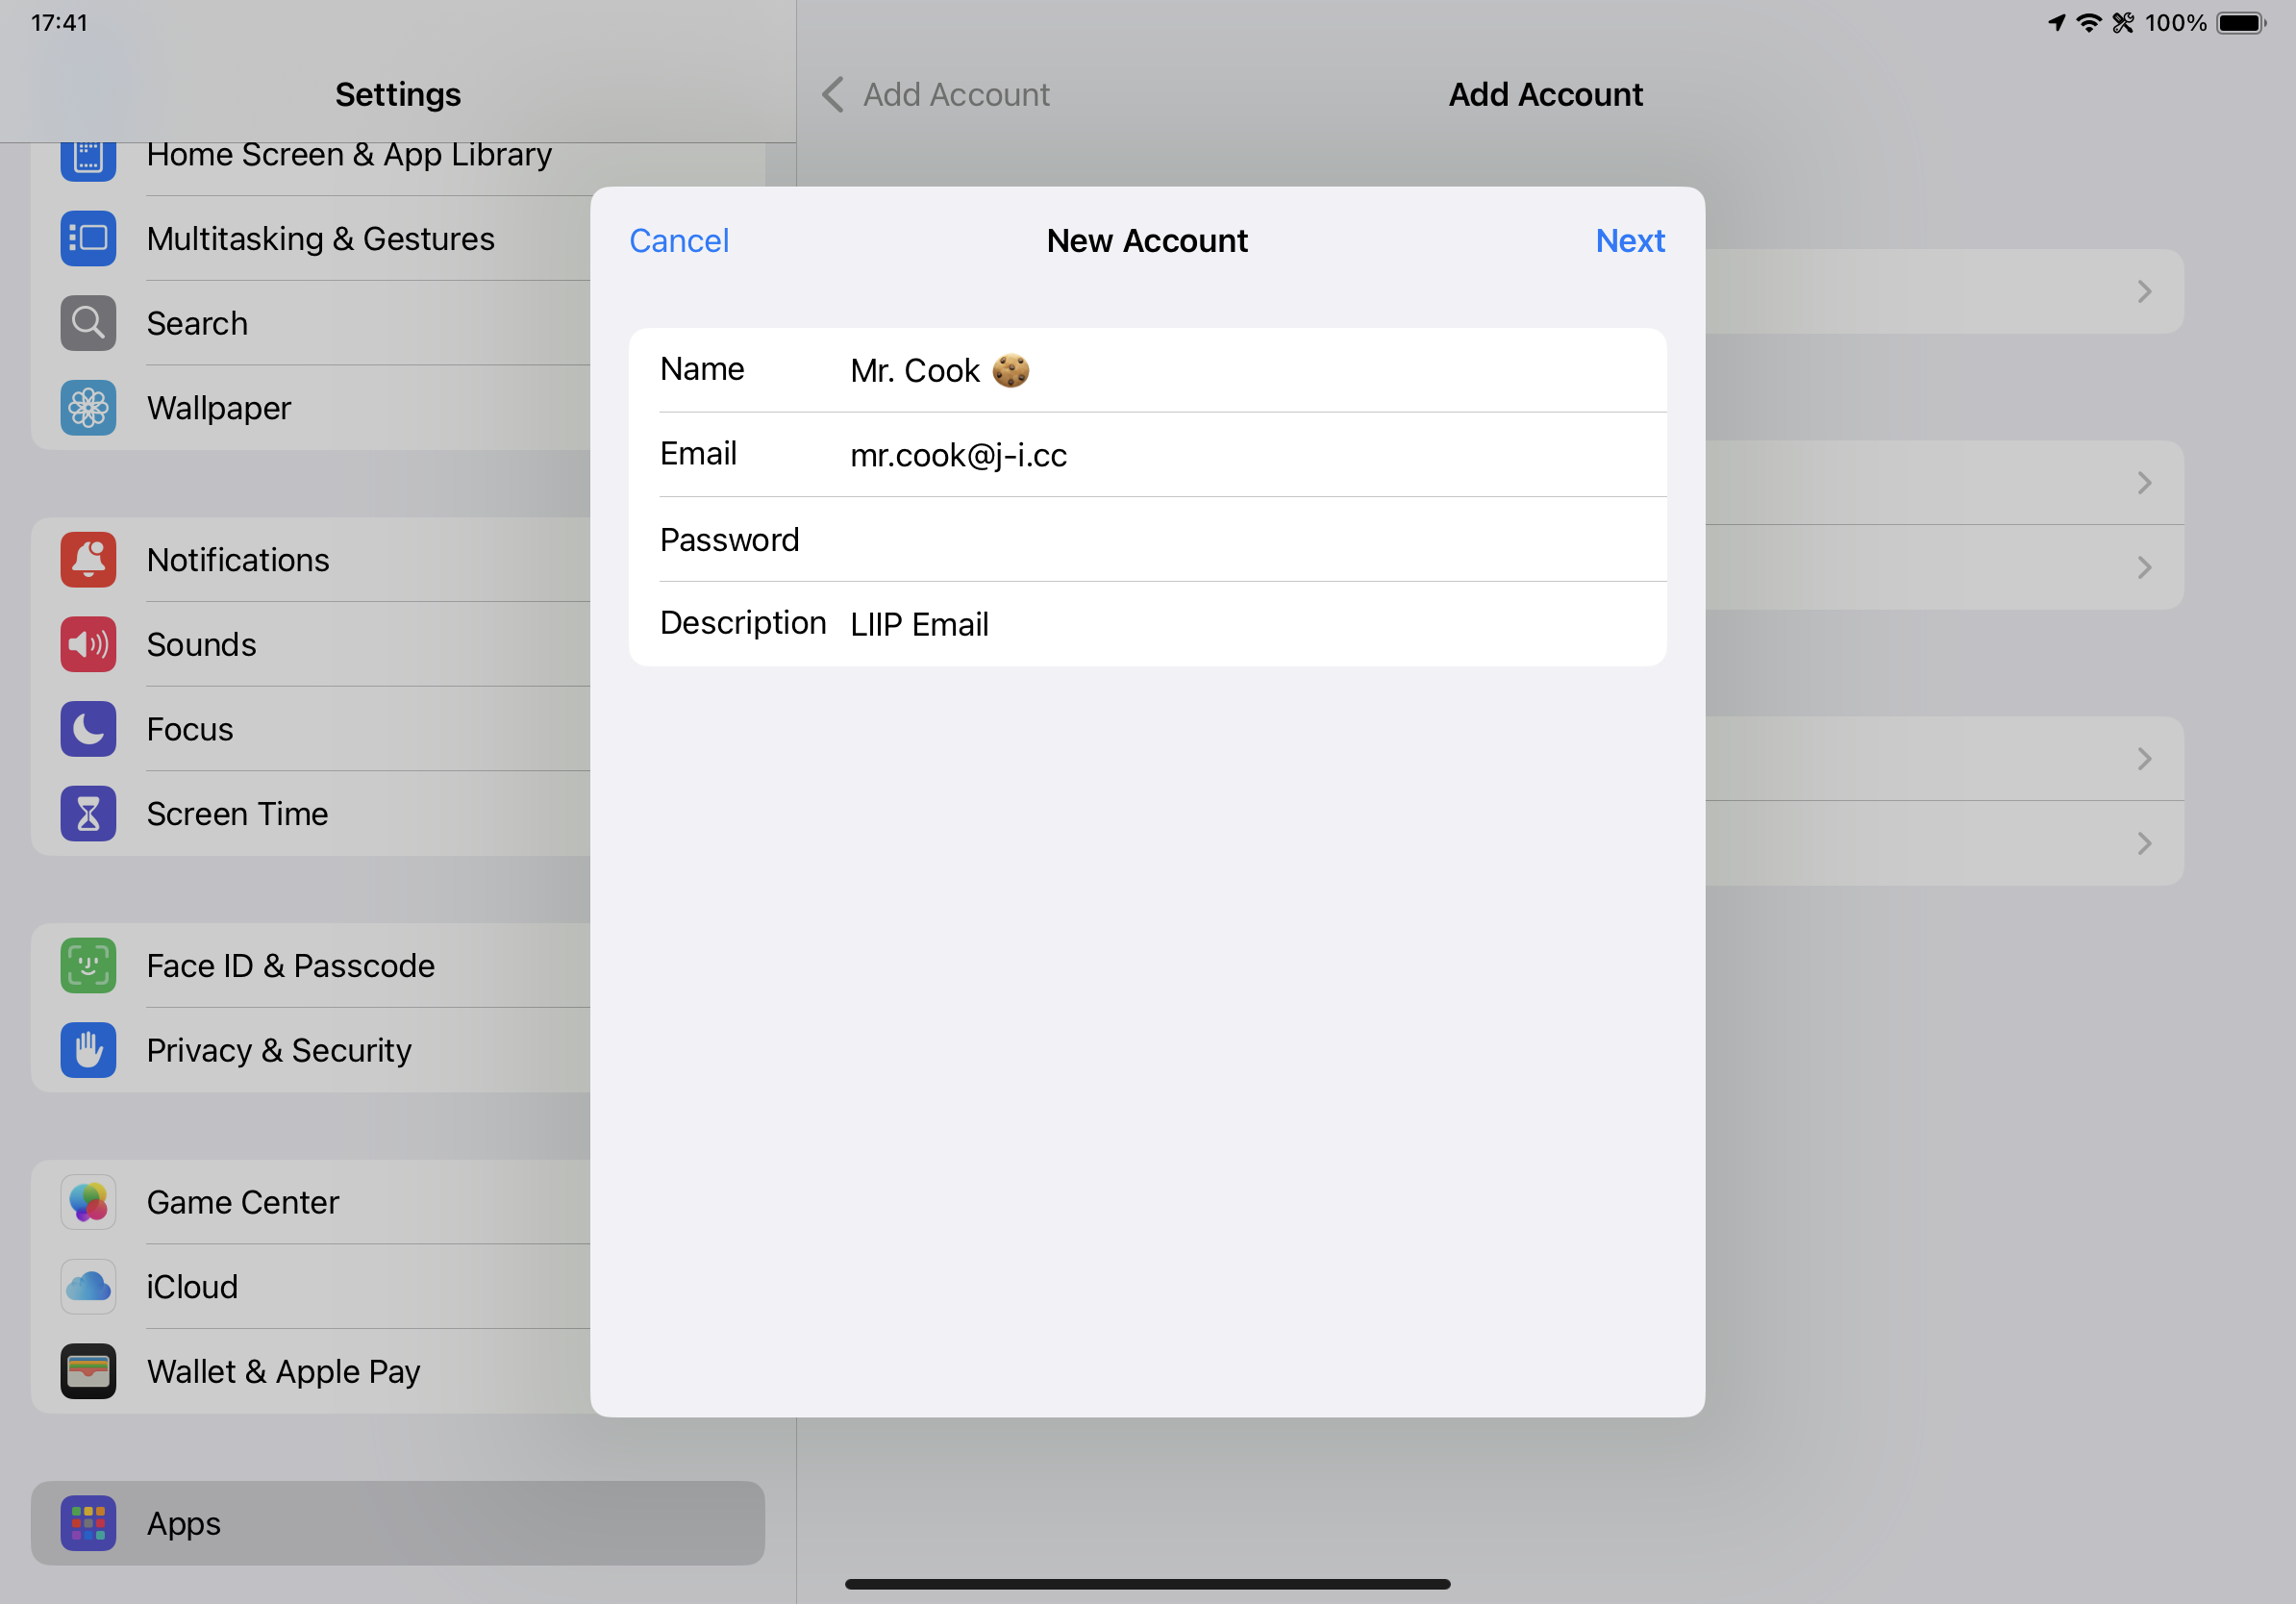
This is the first email account configuration screen. There are four fields: 'Name', 'Email', 'Password', and 'Description'. You do not need to fill in Description, but if your Mail app uses more than one email, filling this in will help you better understand who an email was for. Click or tap 'Next' when done.
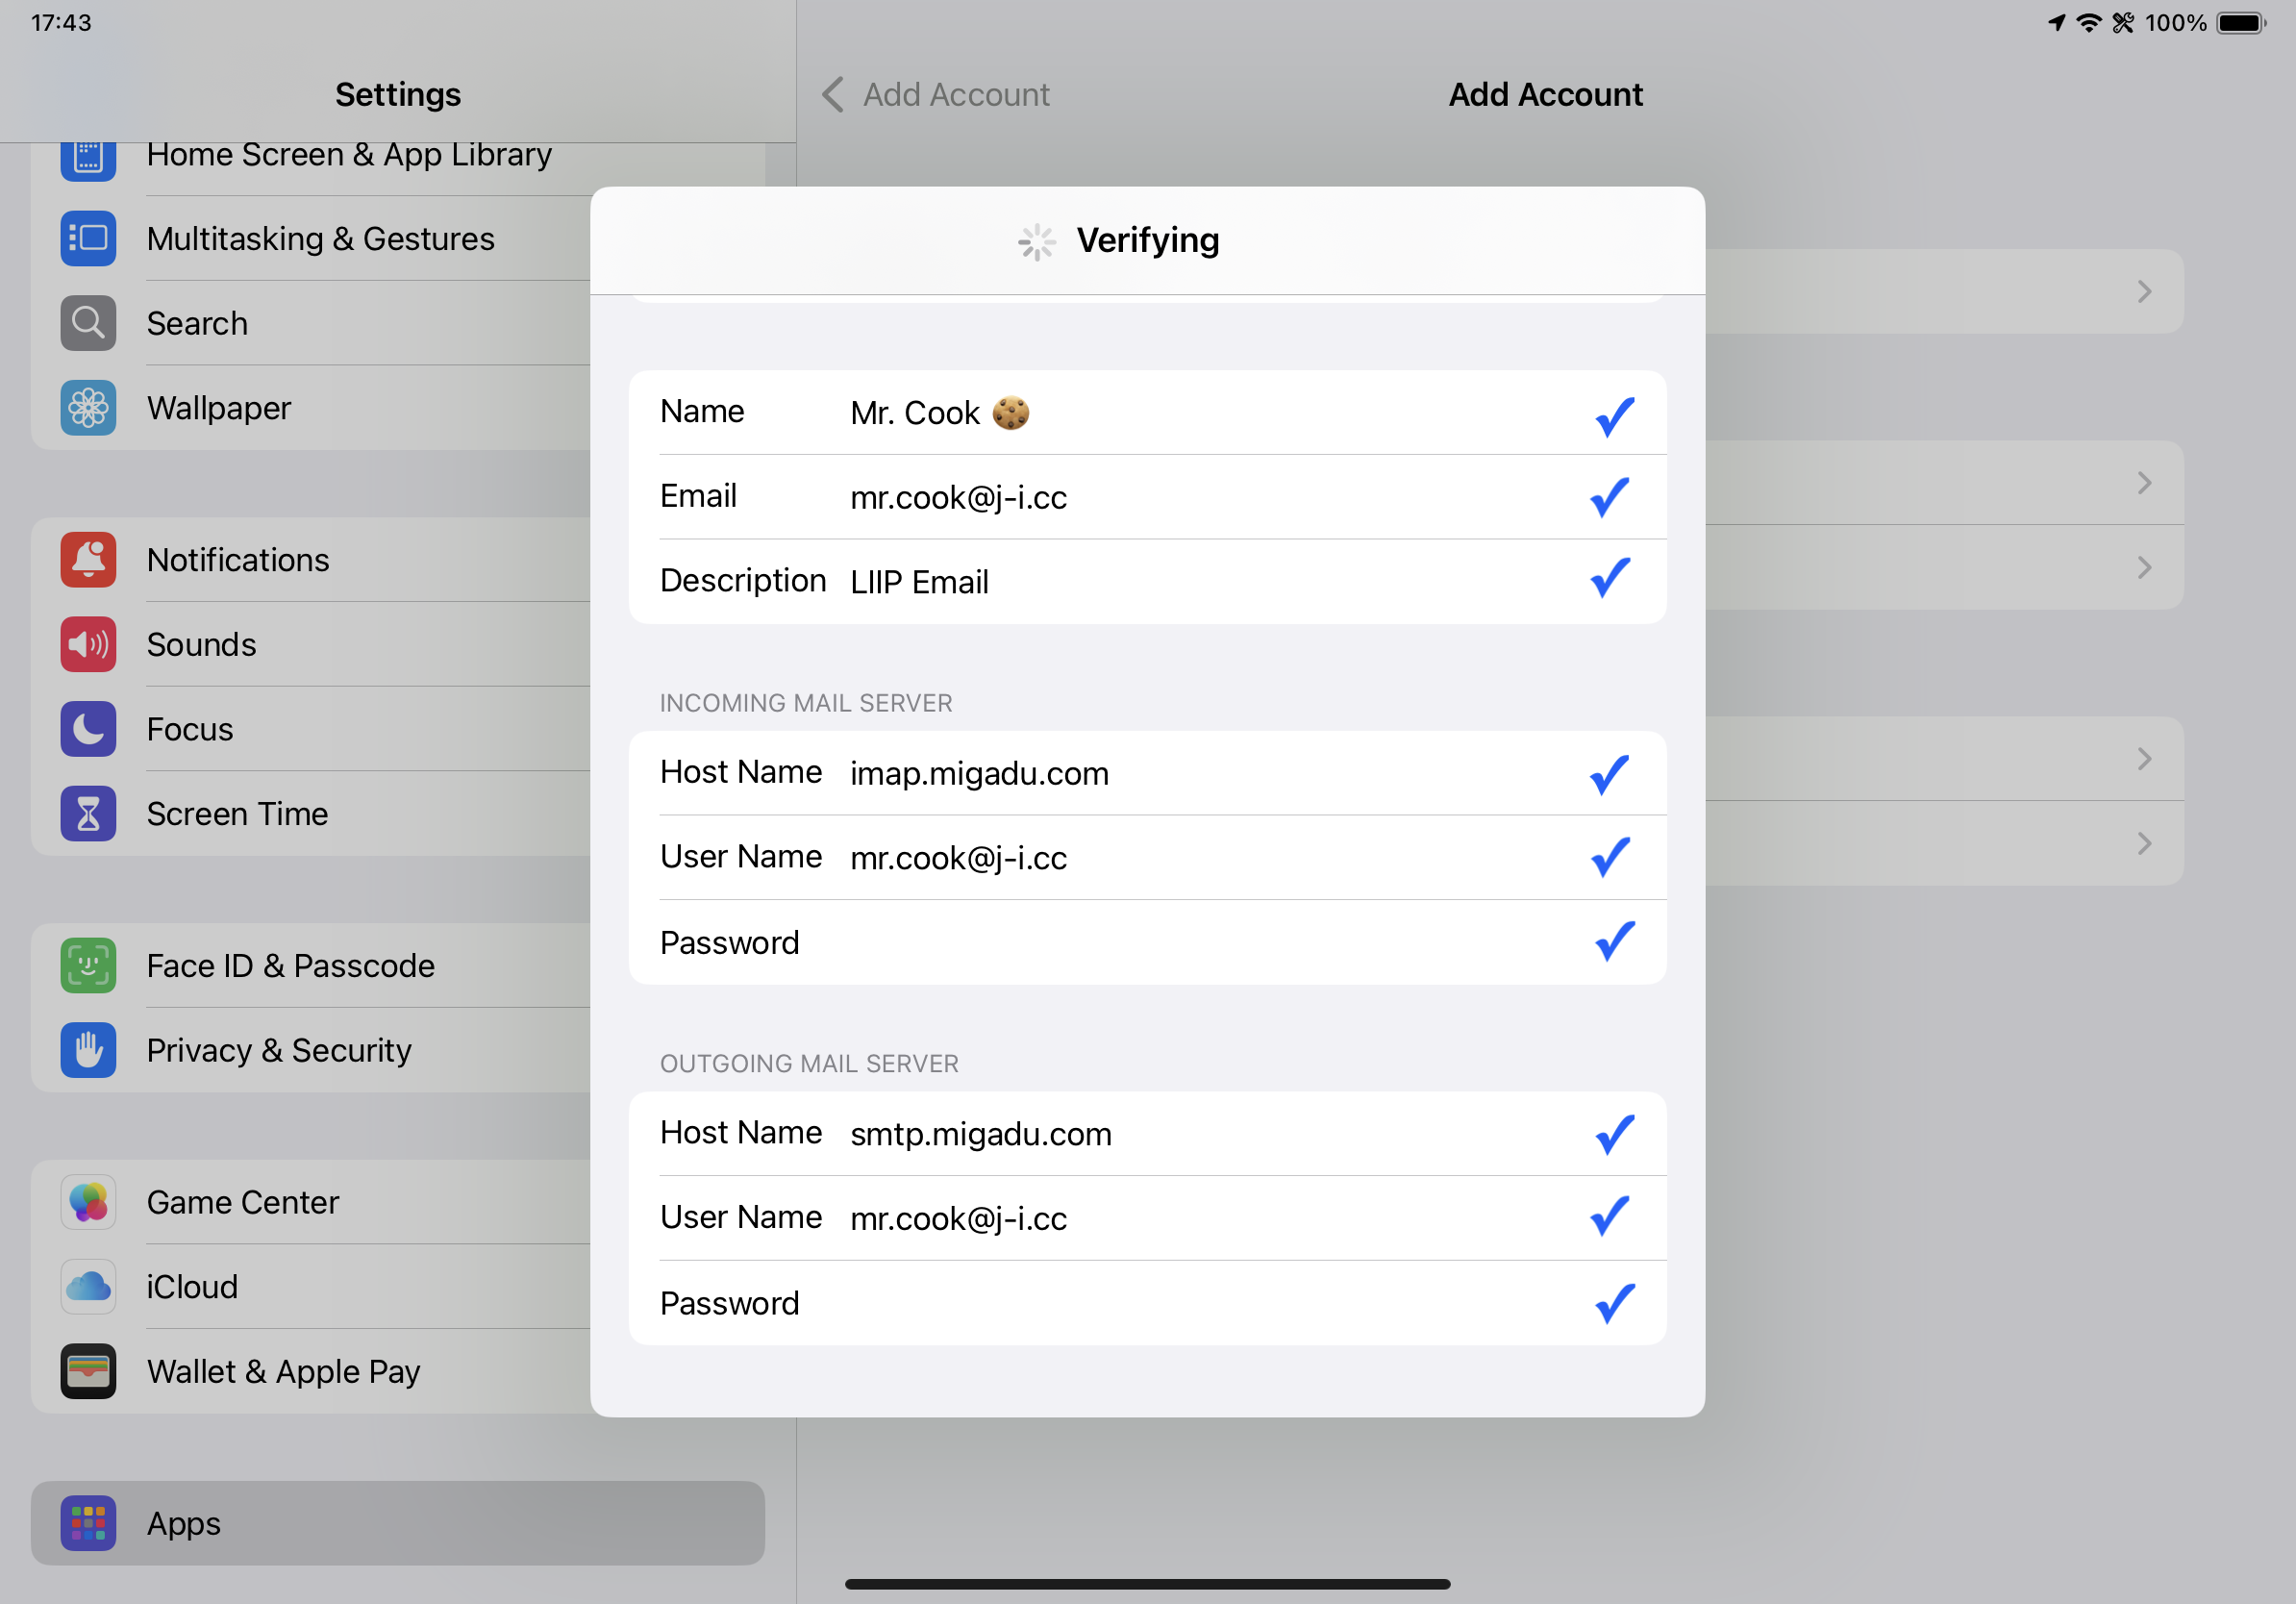
On the next screen you need to enter the IMAP info to receive emails. You need to fill in the SMTP info to send emails. If you don't know your email account password, use the form at the bottom of the page to ask Mr. Cook.

Once you click or tap Next, the app will need a few moments to verify your info. Once all the fields have blue check marks, you will be sent to the next page.
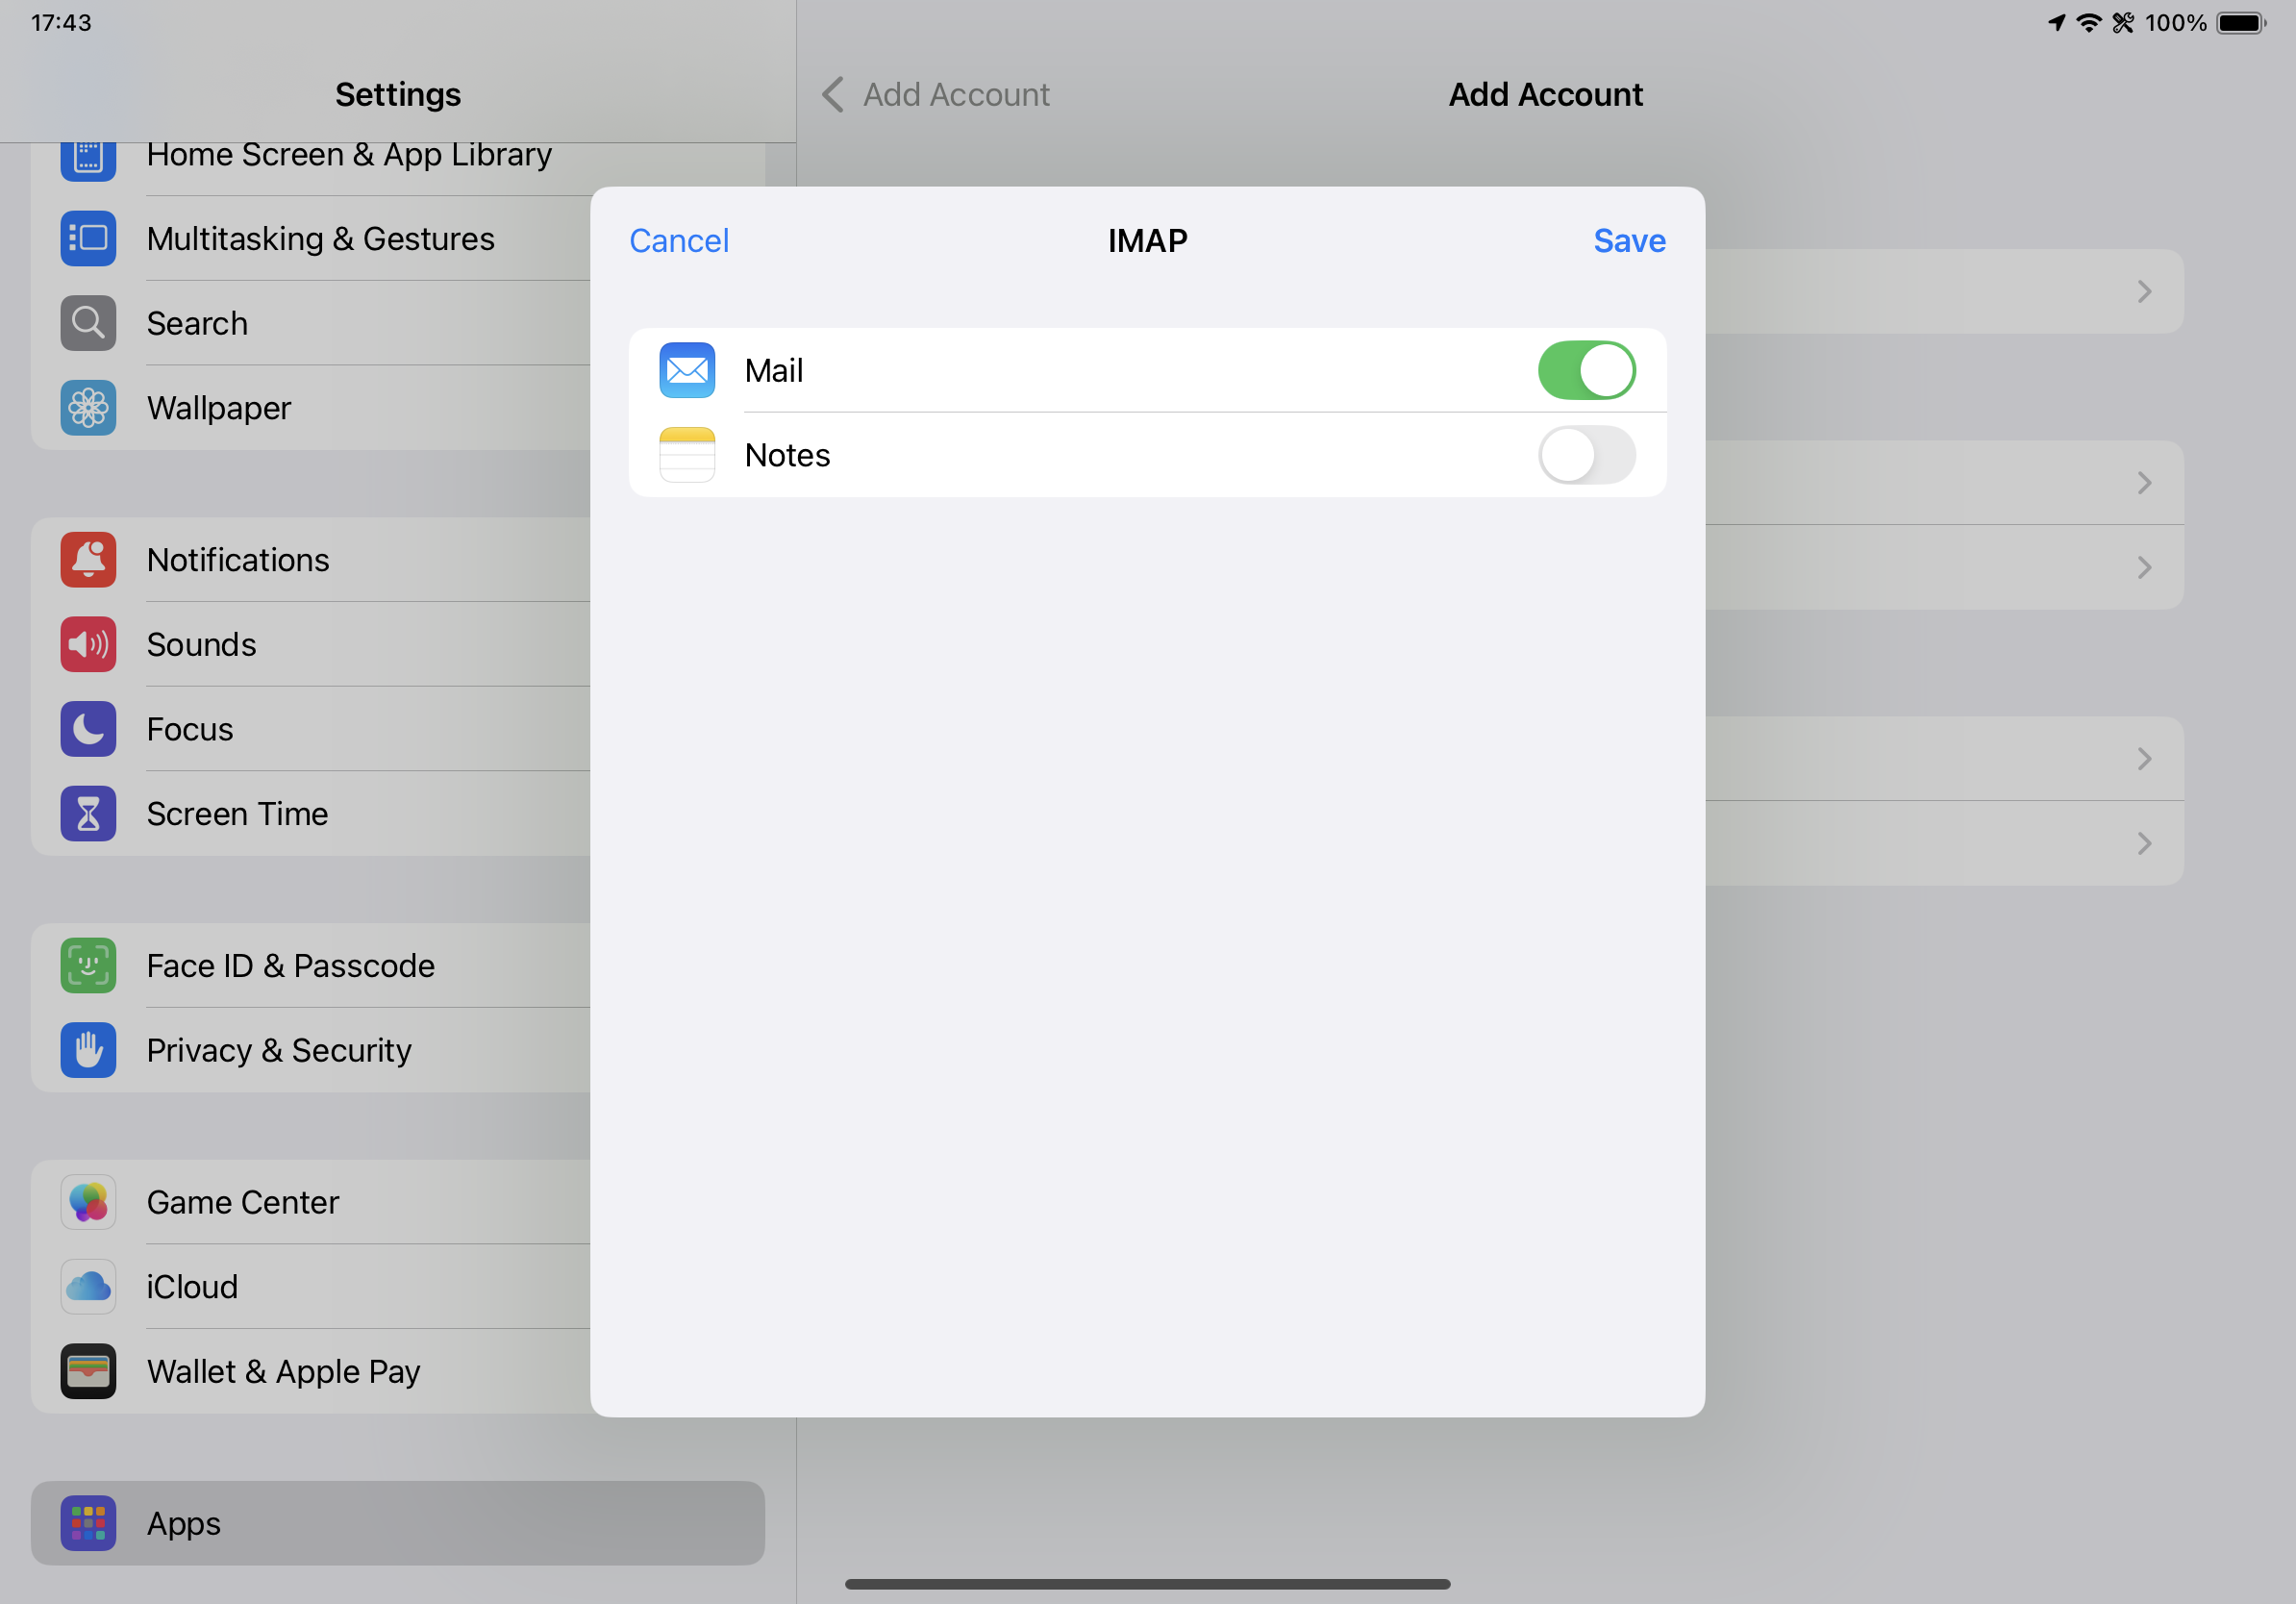
This page shows your @liip.j-i.cc email account was added to the Mail app successfully. It is very important to click or tap 'Save' here or you will have to start over. Once the save is complete, you will be back your new email account page (in the screenshots mine is "LIIP Email" because that is what I wrote in the description field on the first configuration screen).
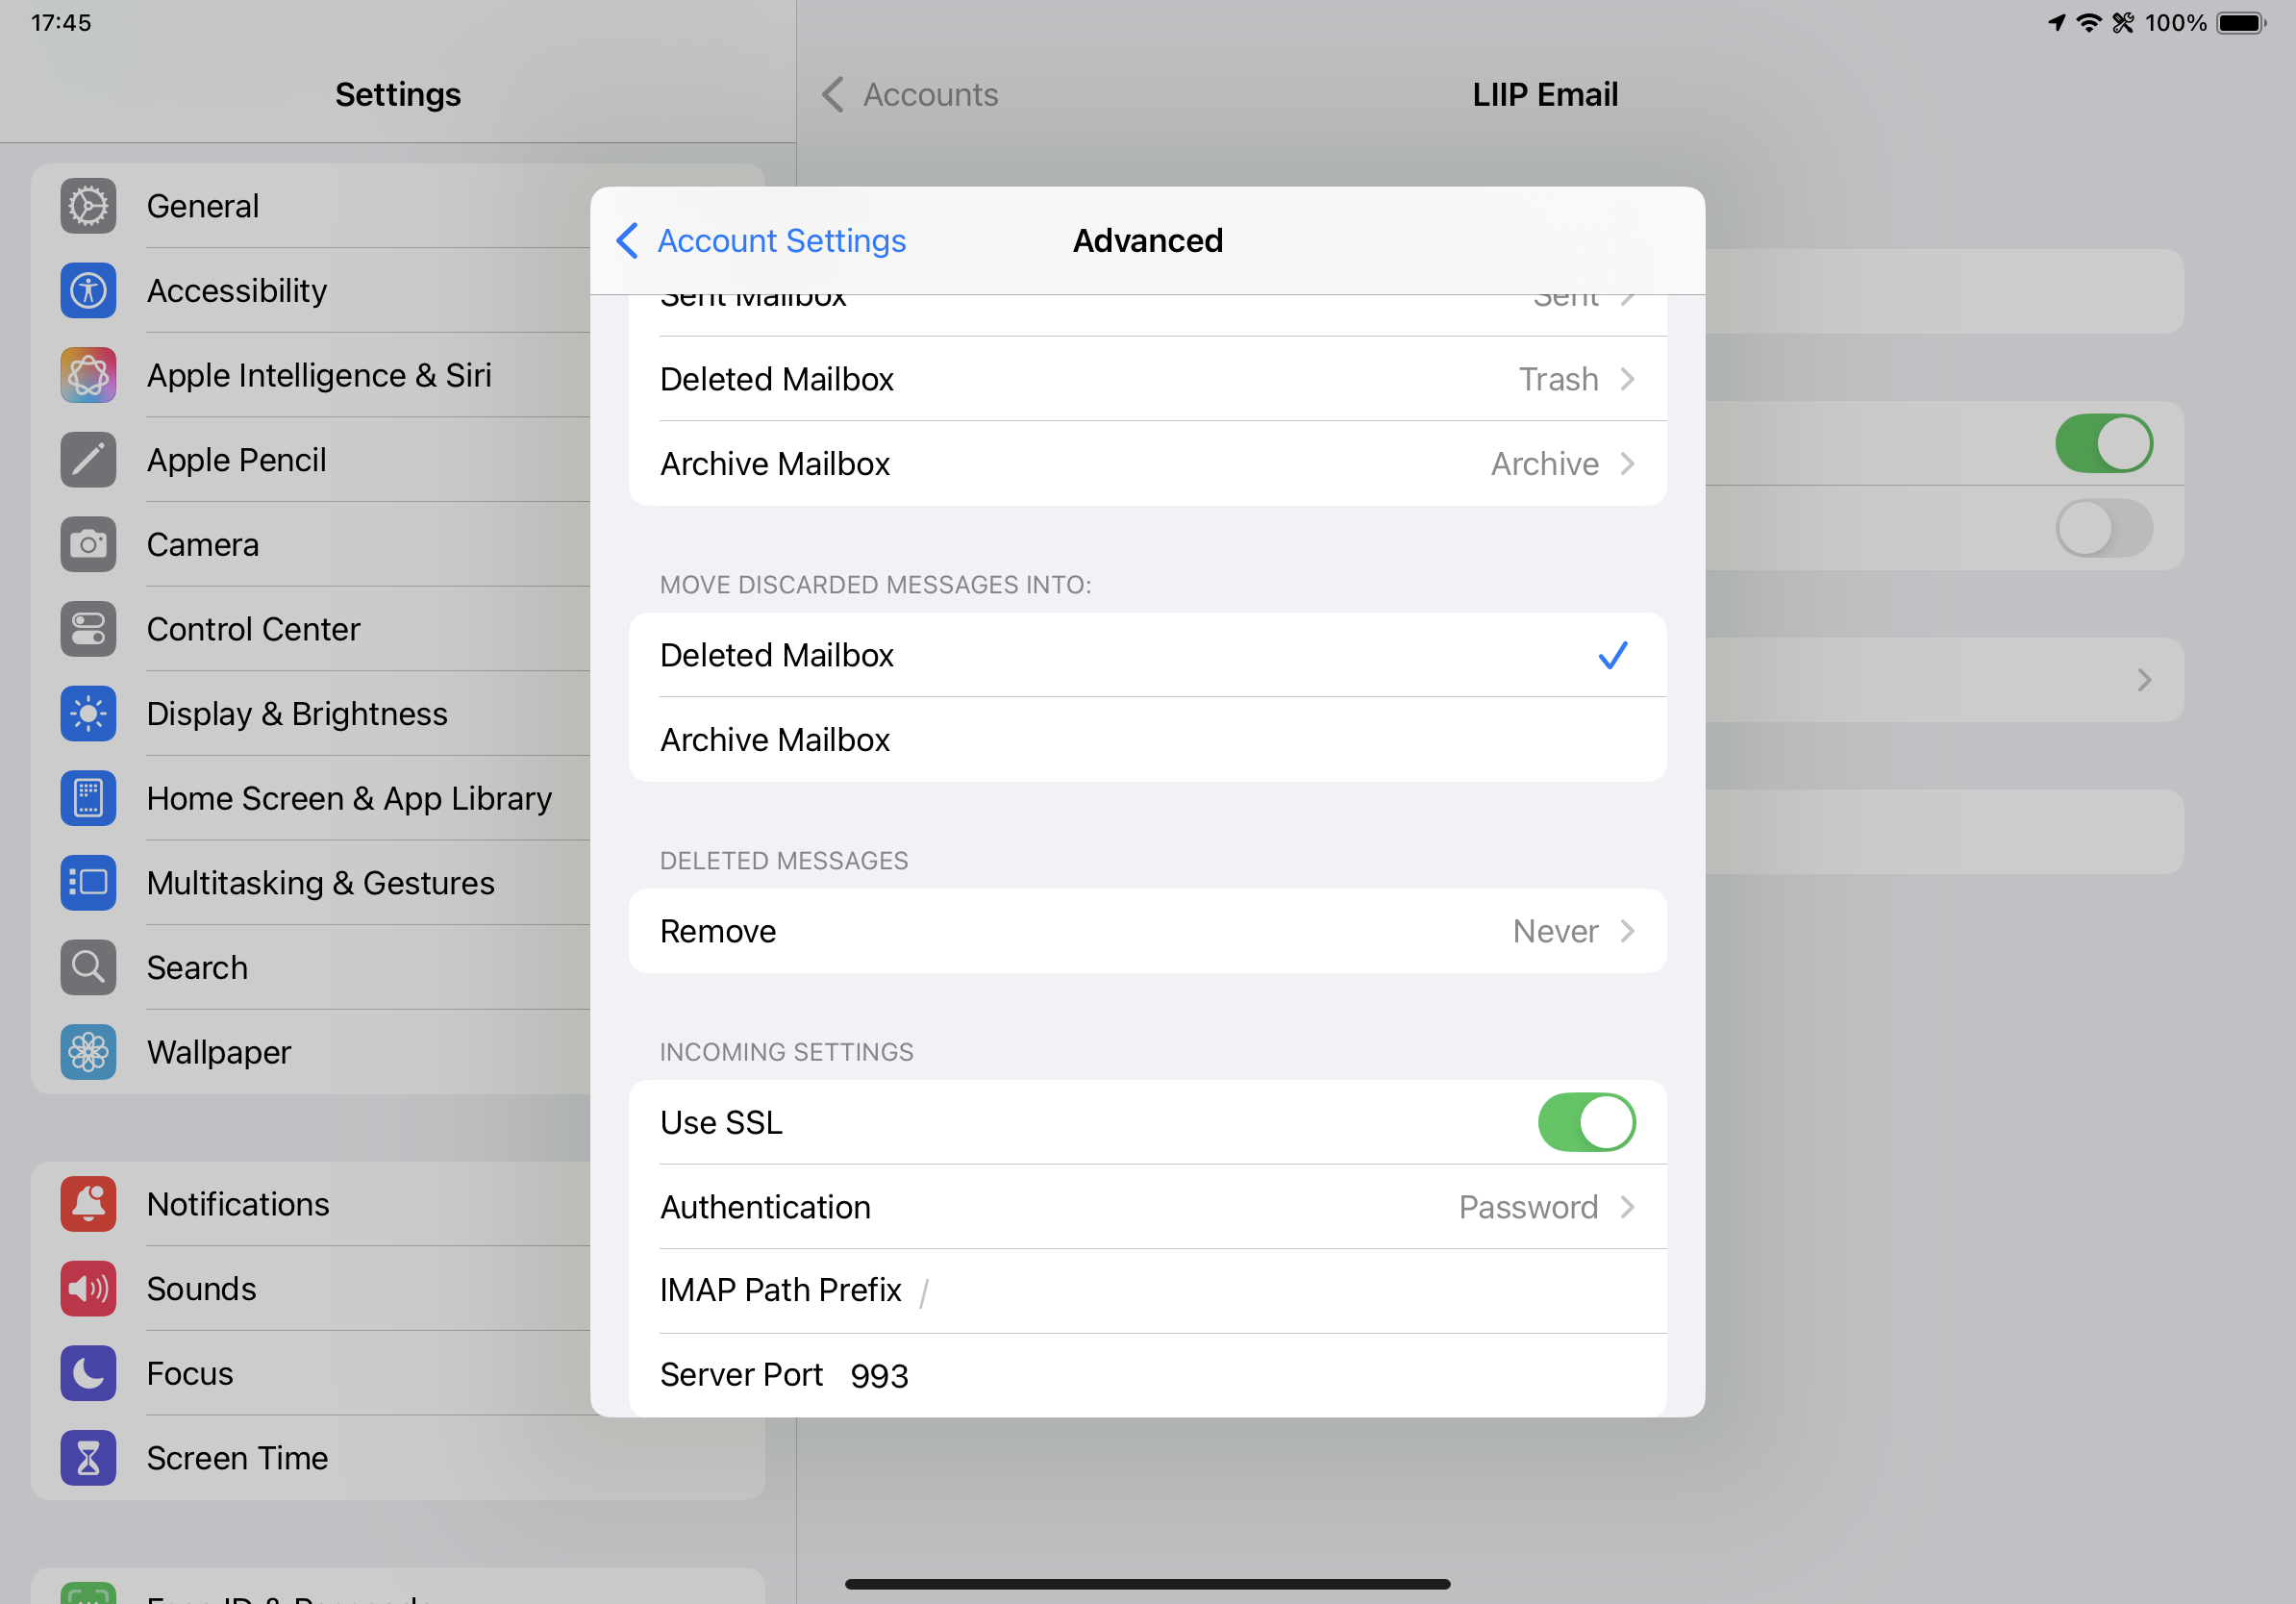
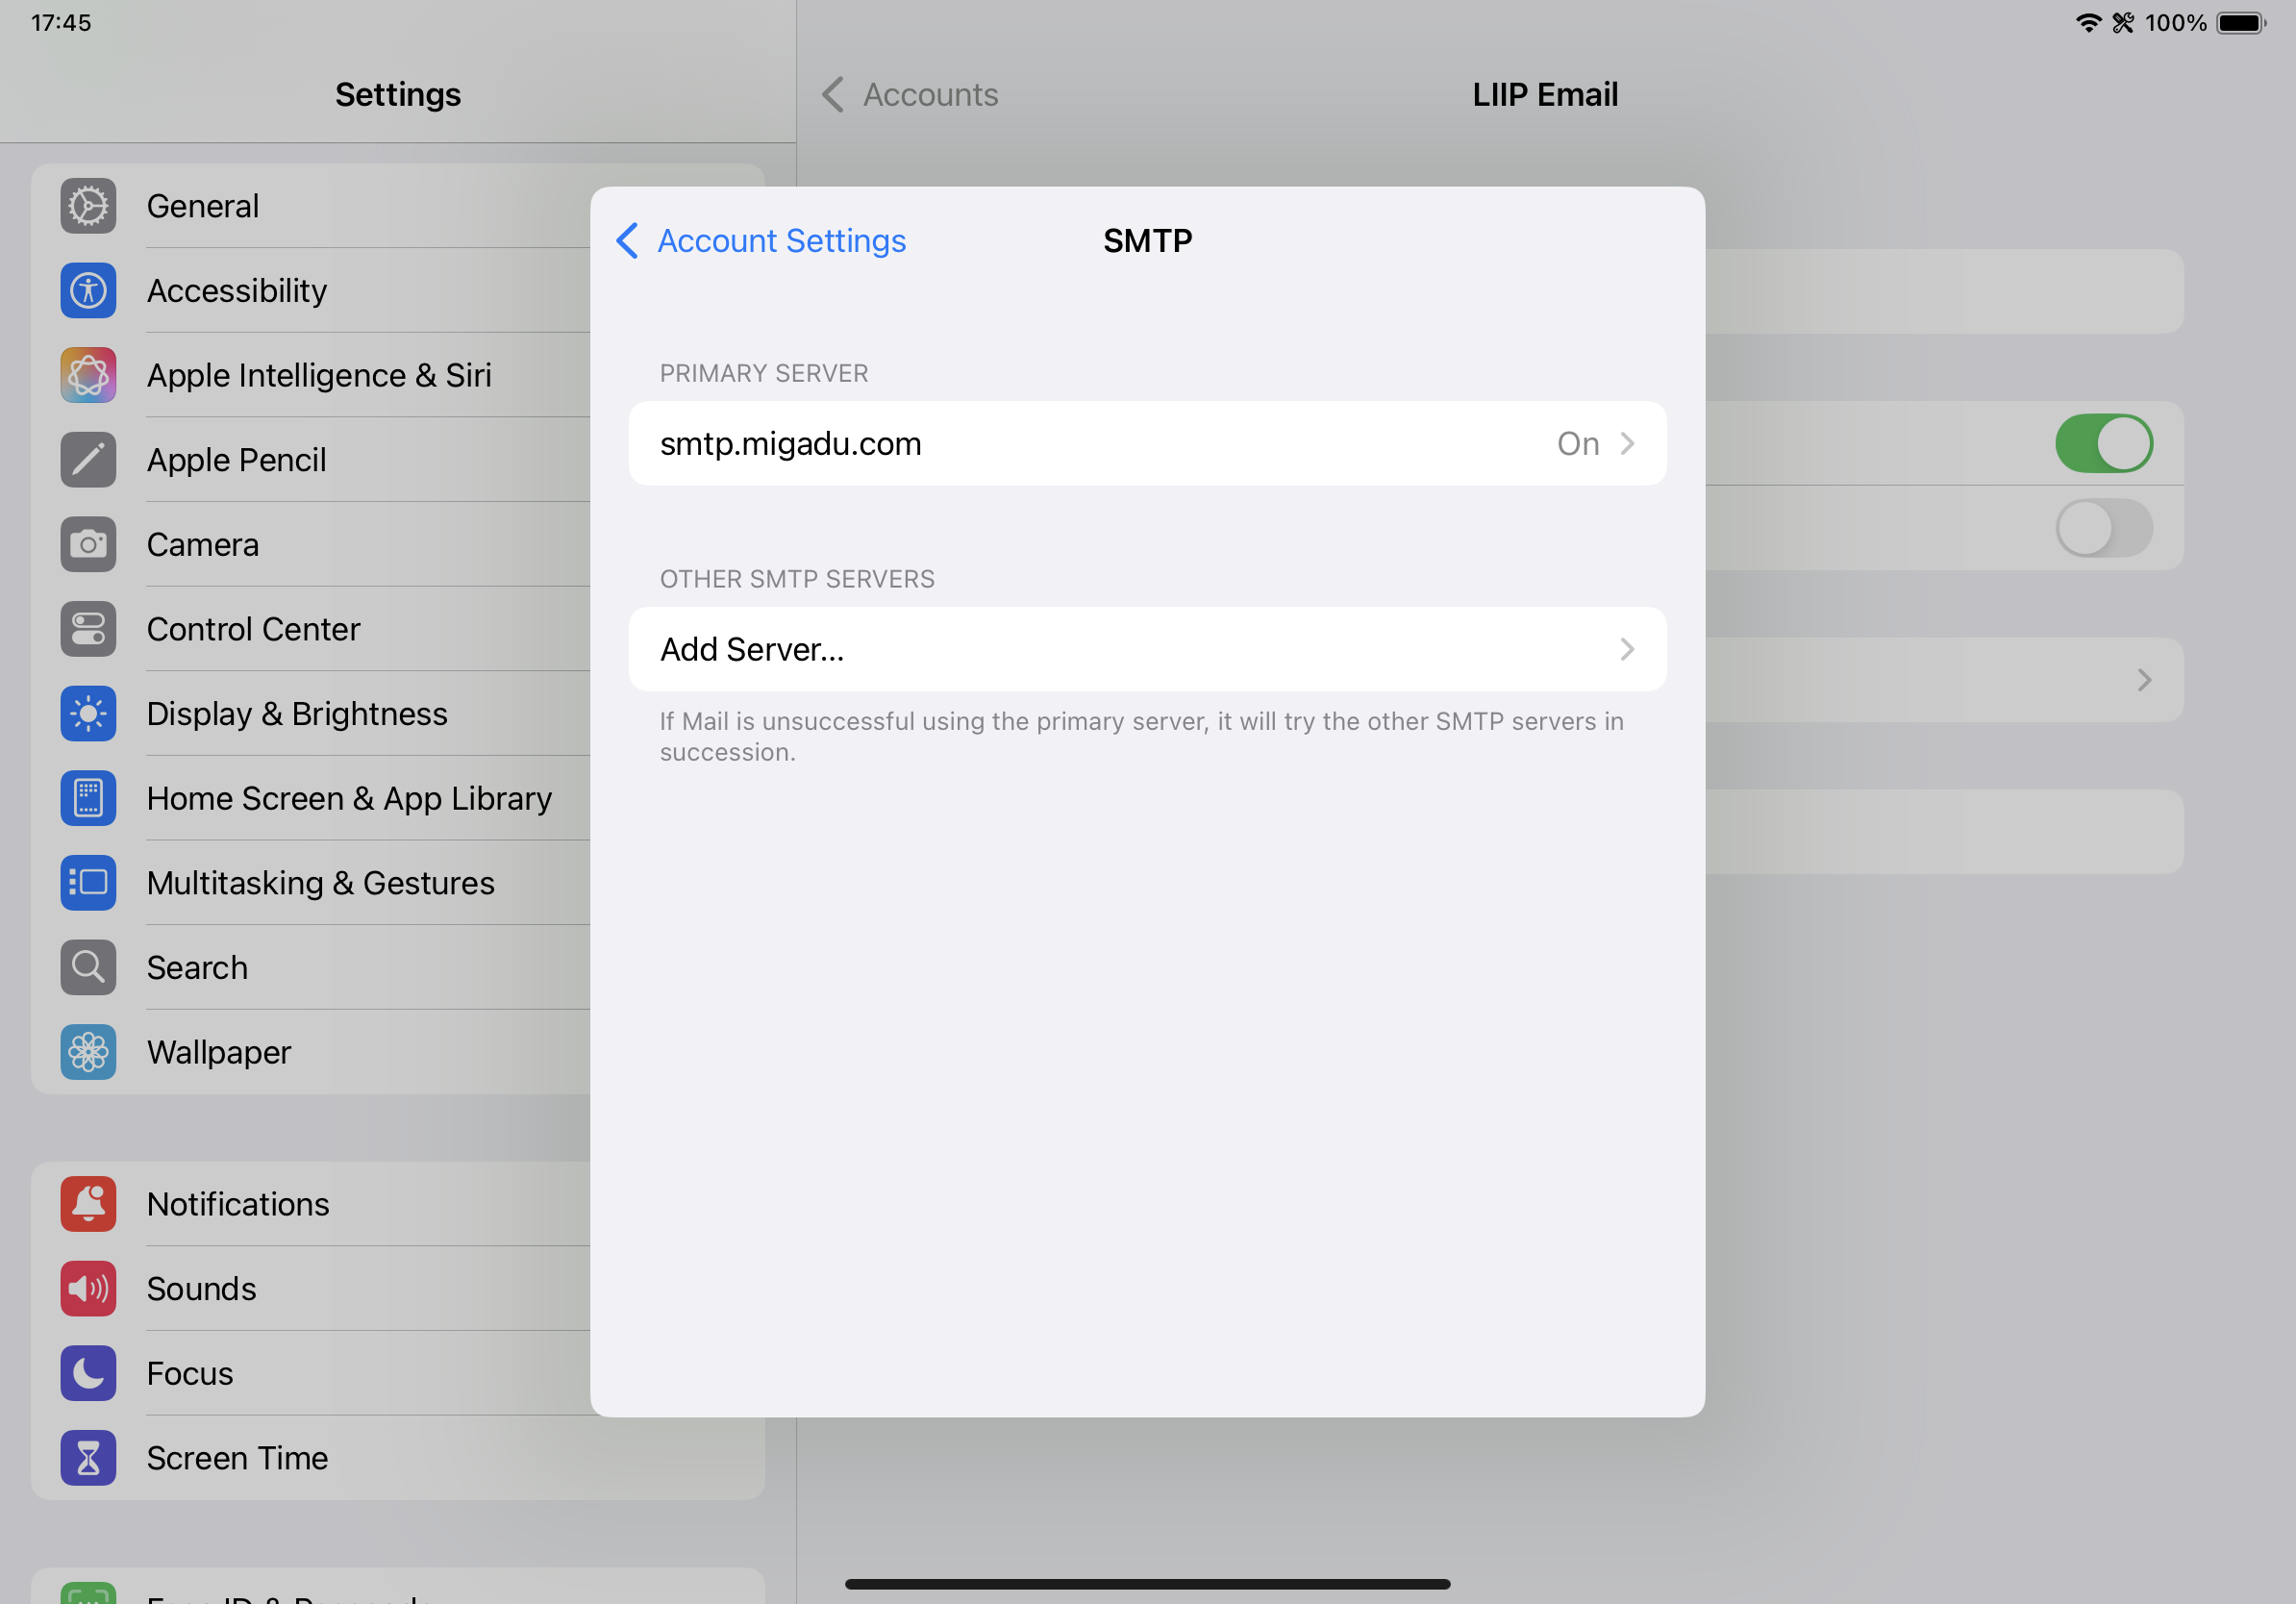
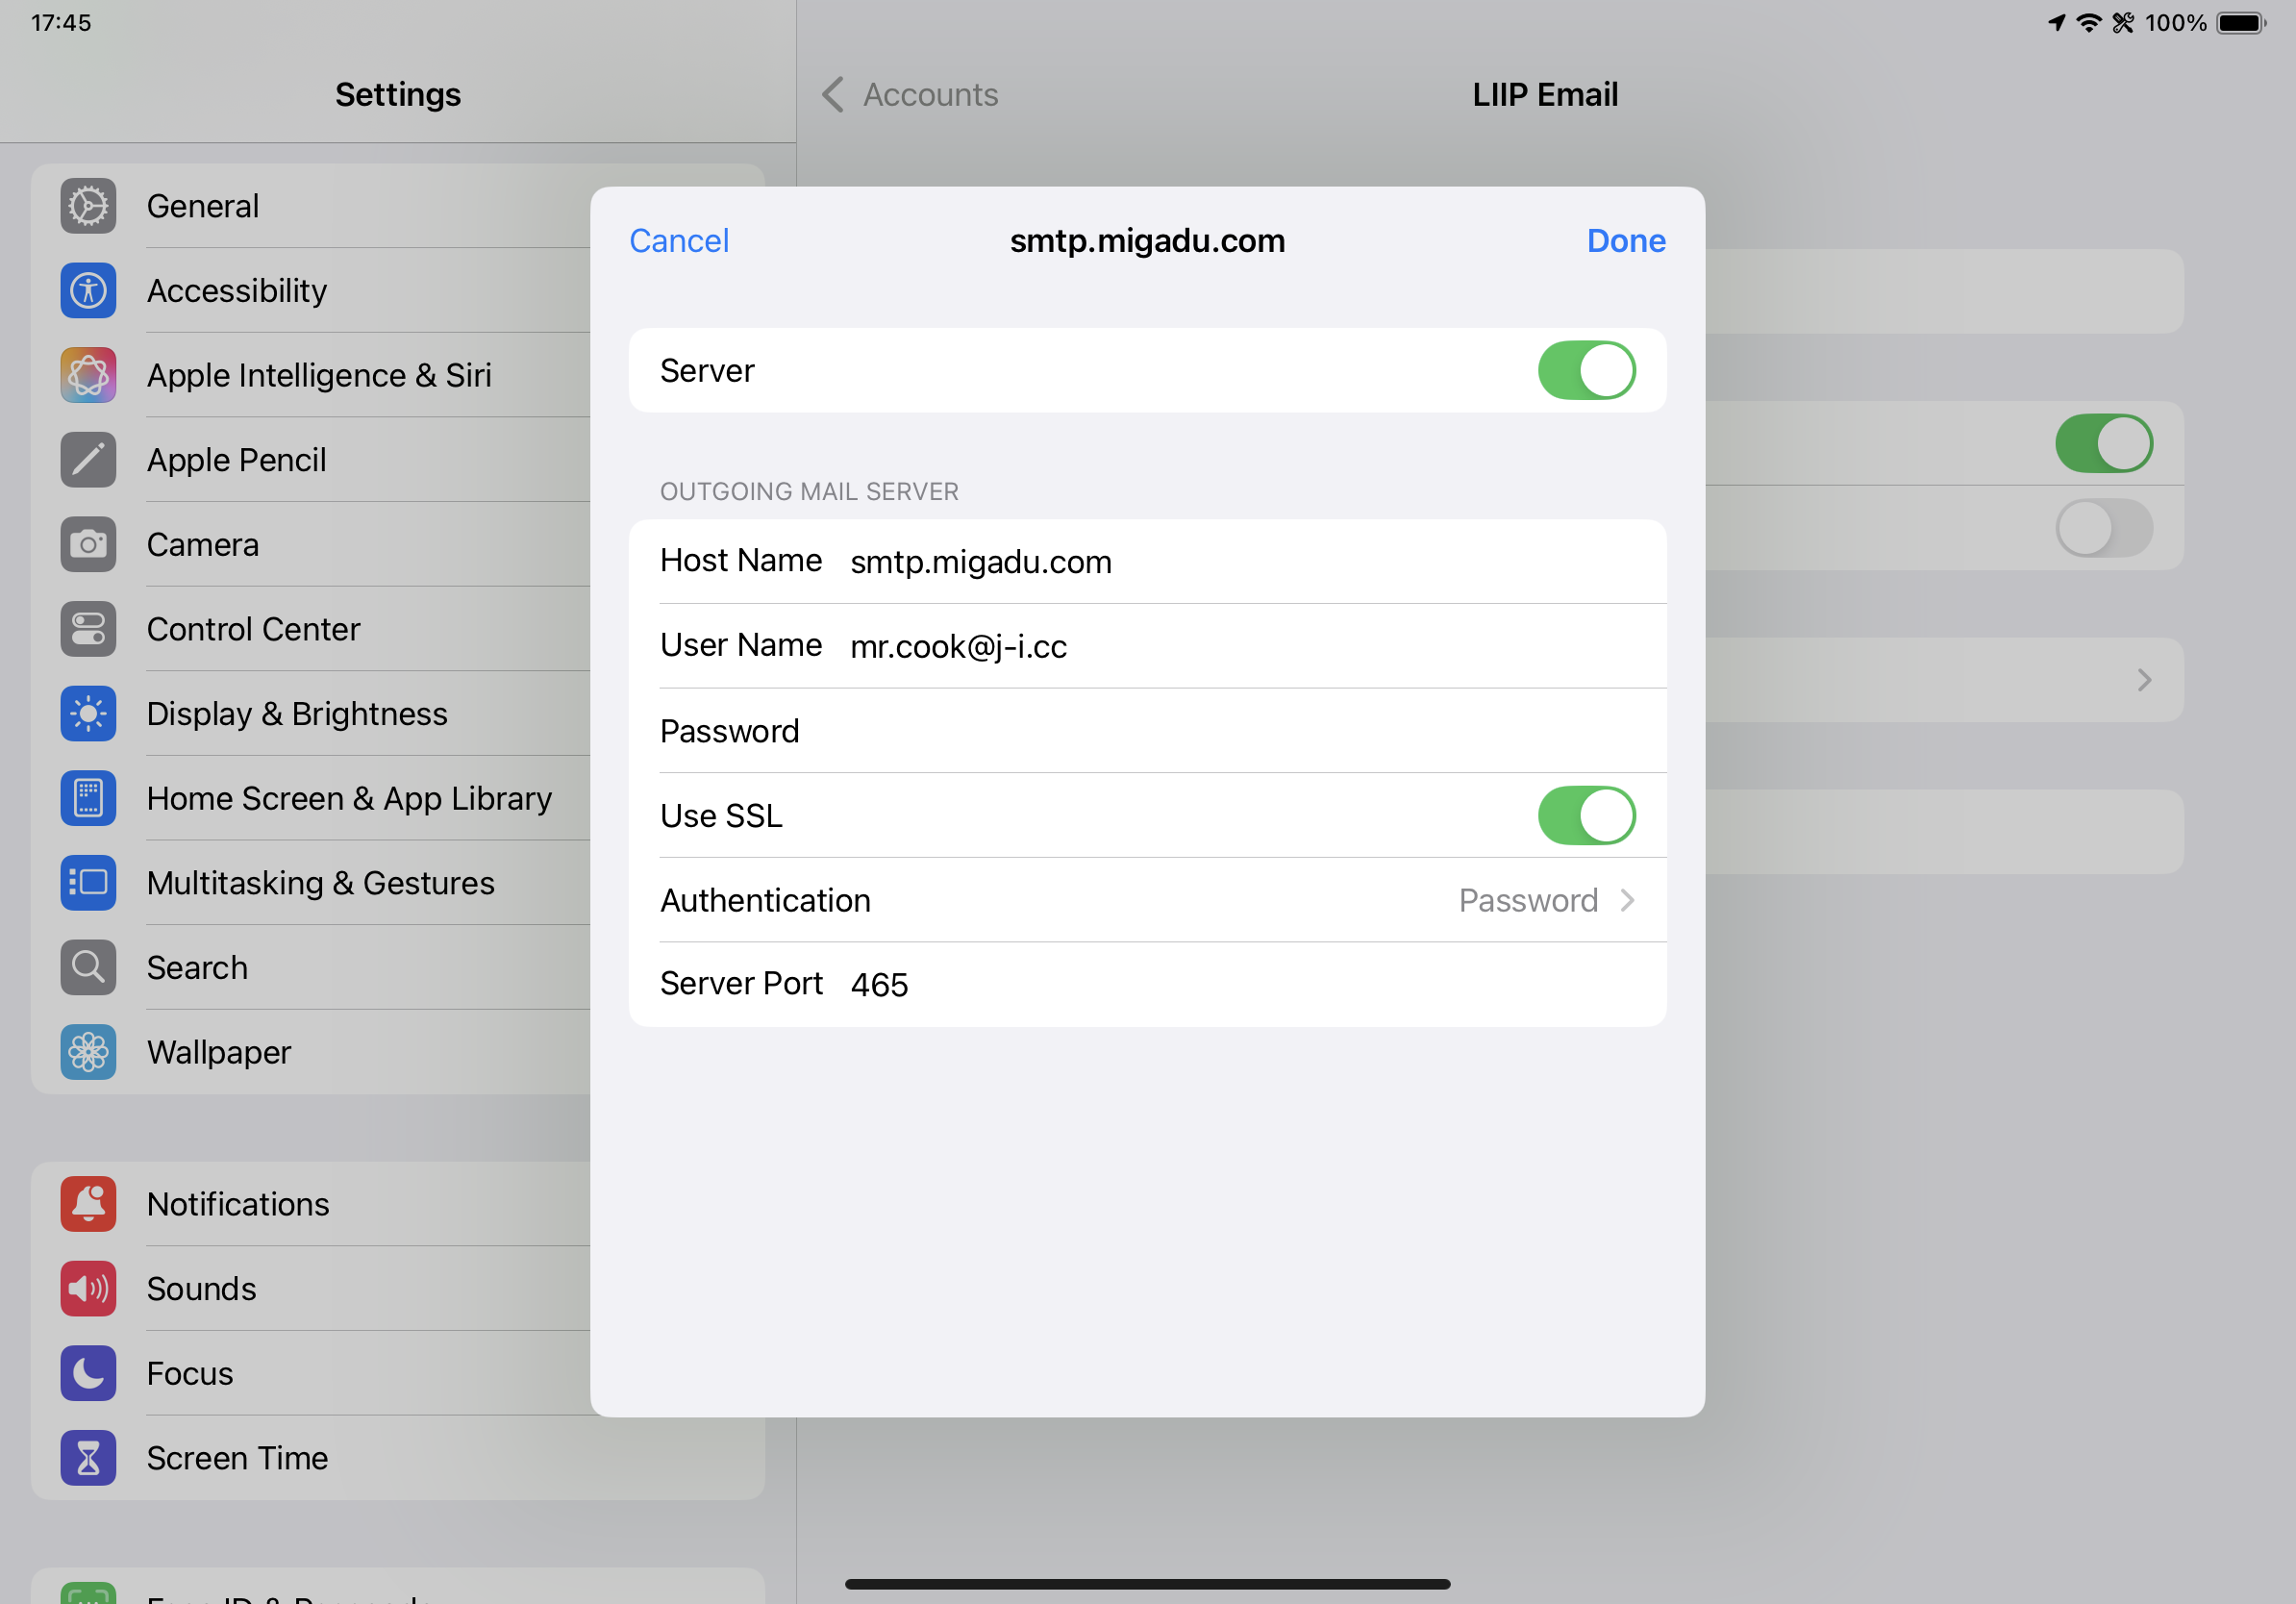
These next screenshots are of the advanced settings pages. You probably won't need to set anything where.
If you have difficulties, do not know your password, etc., use this form to contact Mr. Cook.